
Project story
Roswell garage
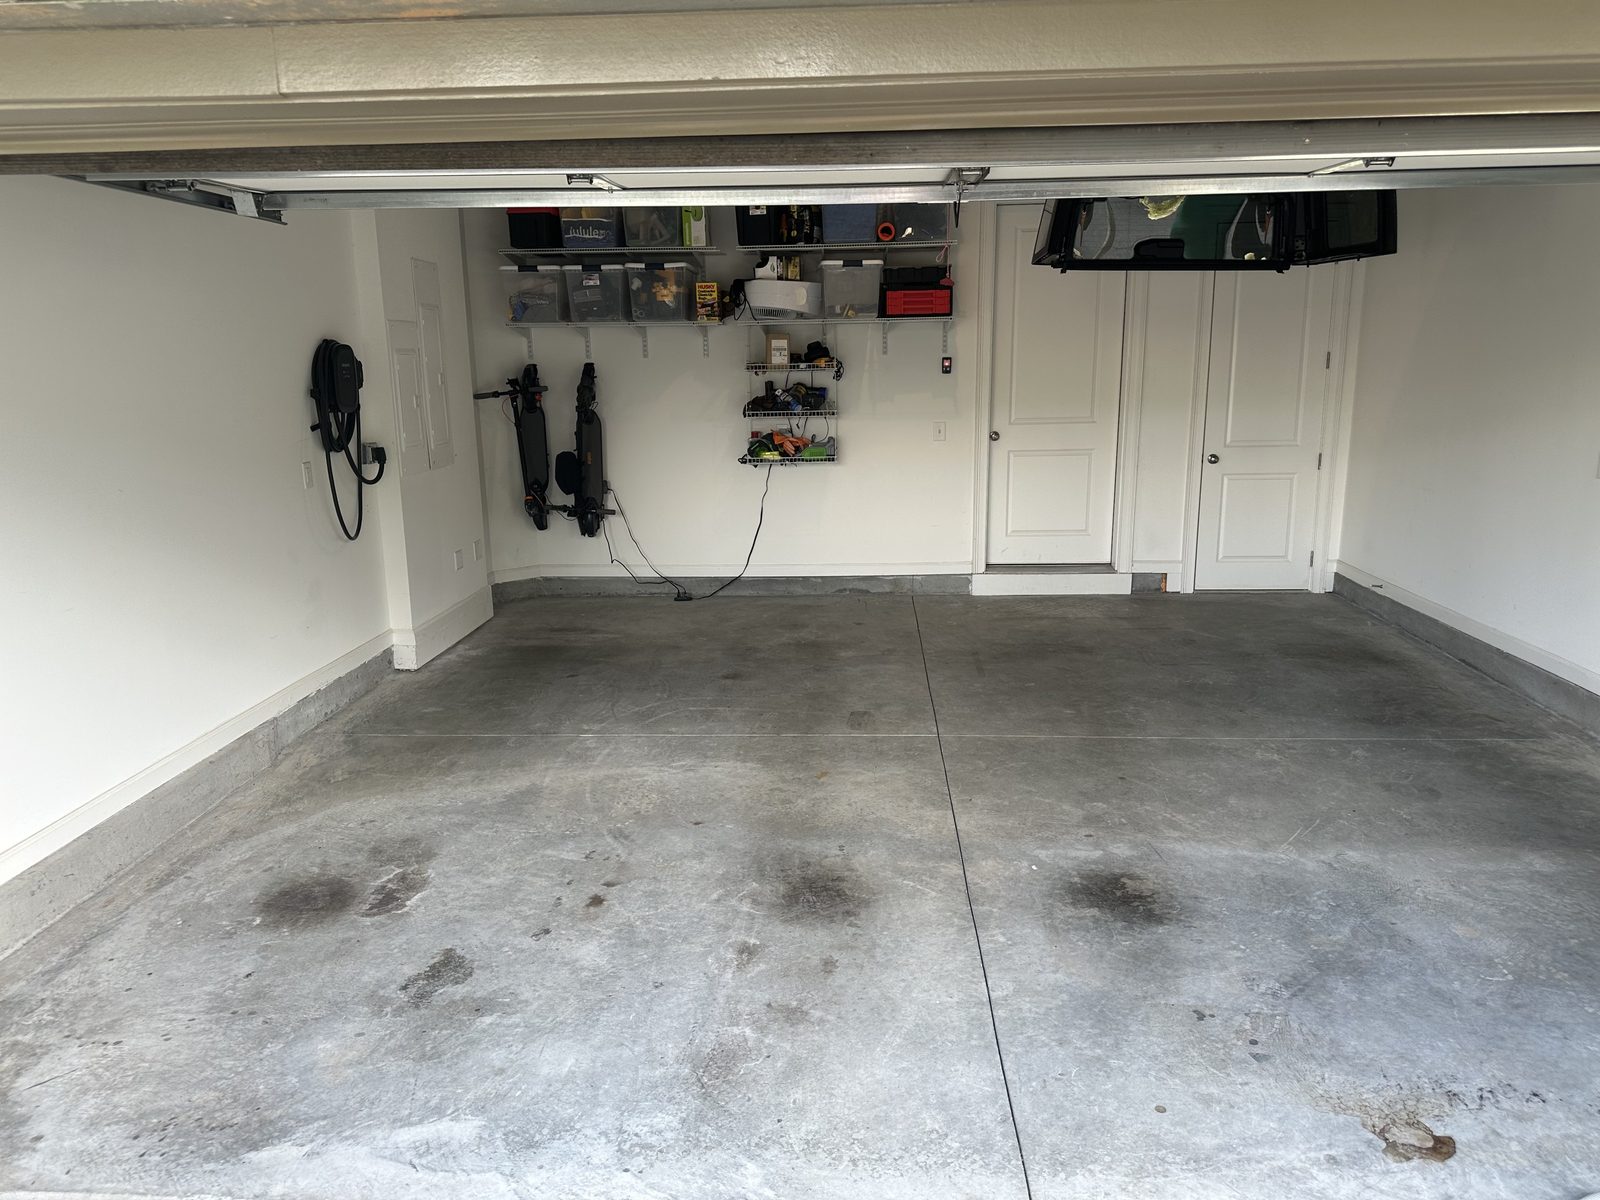
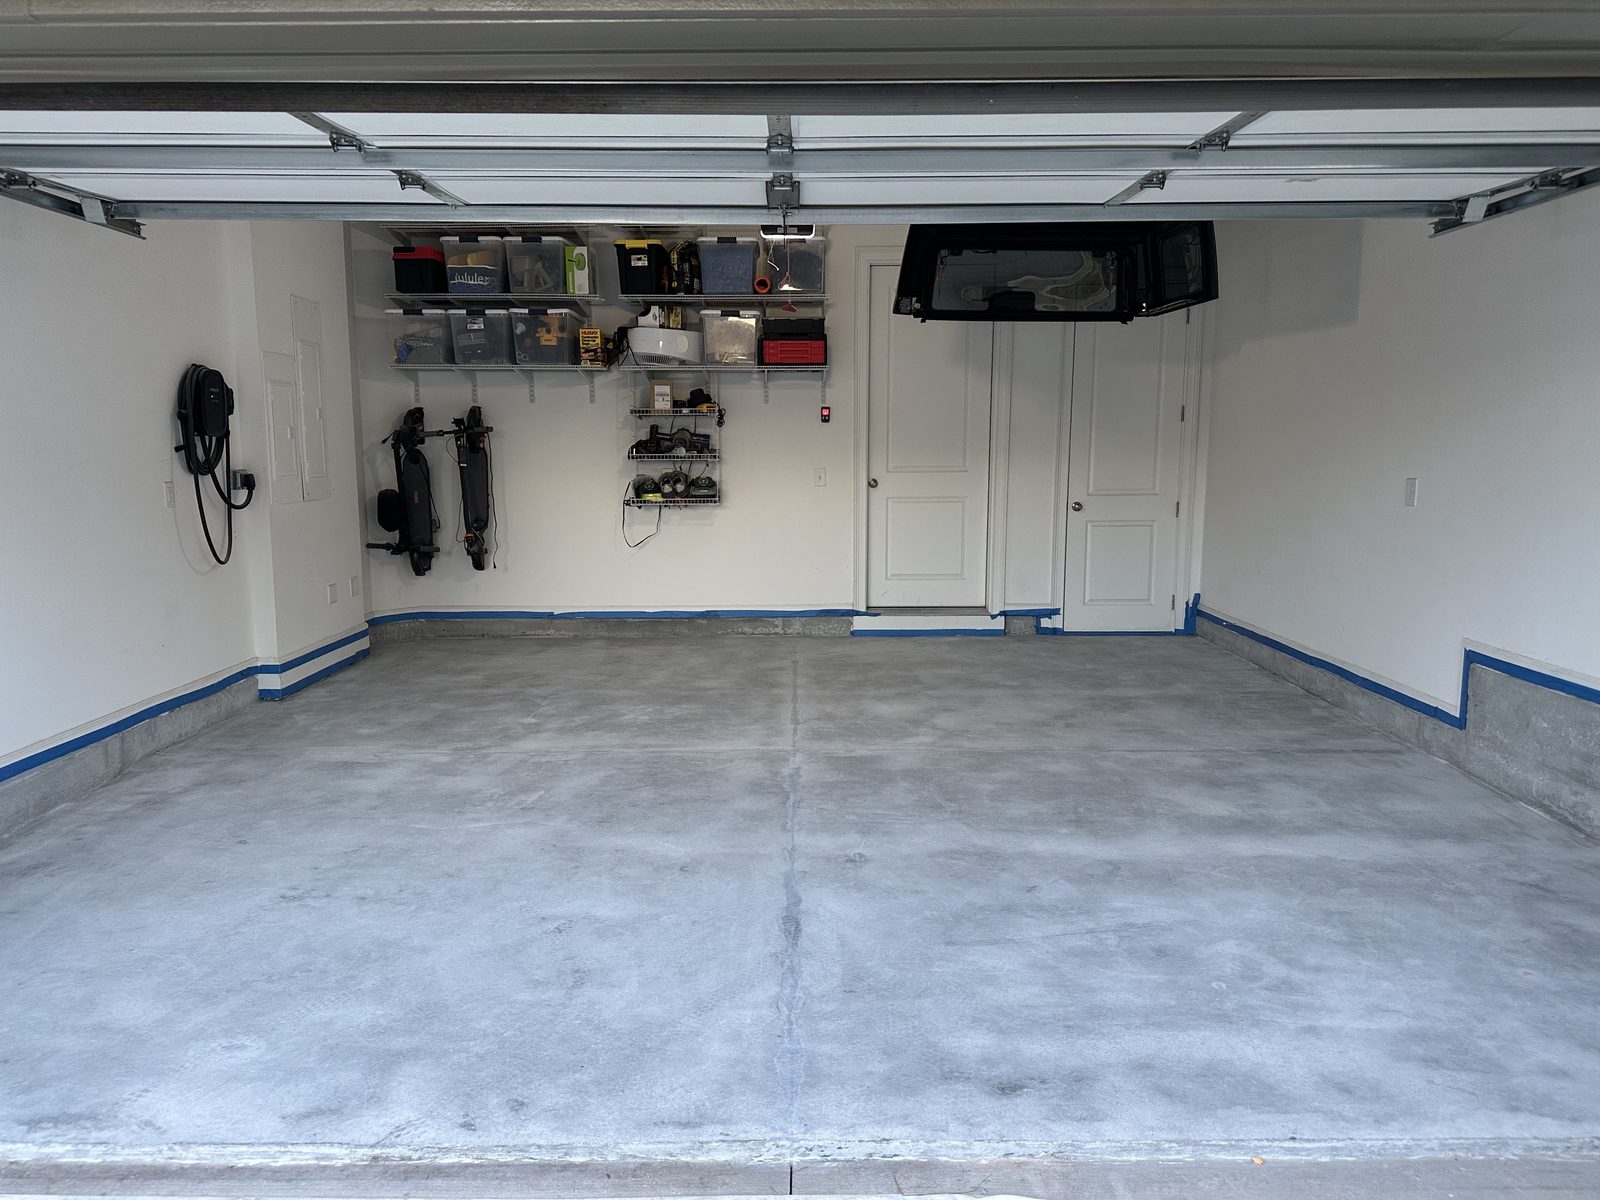
A two-car garage with an oil-stained slab and cracks running the length of it.
The starting point
An oil-stained slab with cracks running through it
The floor had the usual history of a working garage — dark oil blooms where the cars sat, tyre marks down the middle, and a dusty, porous surface that had never been sealed. Running through it were a long control joint and several cracks. None of that stops a coating going down. It does decide how much work happens before the first bucket is opened.
What made it tricky
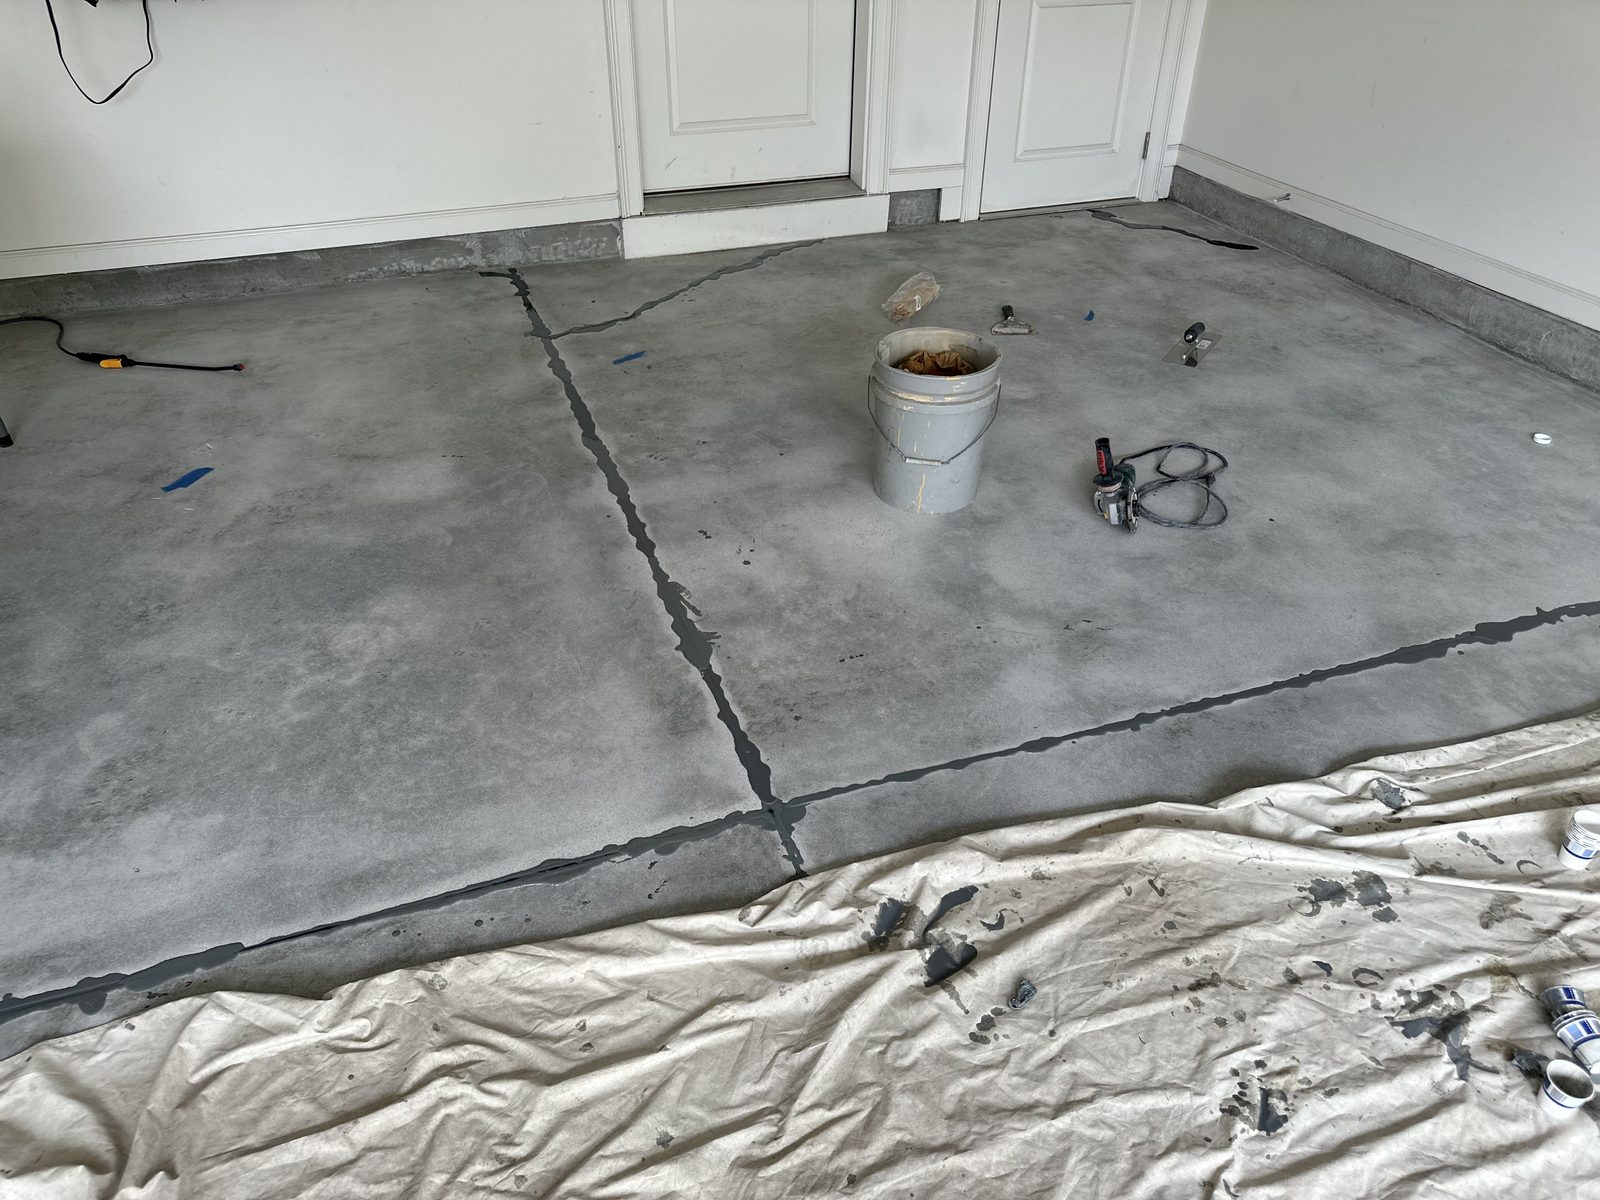
Cracks and joints, then a clean edge at the threshold
Cracks and control joints move. If you coat straight over them they telegraph through and the floor fails along that line. Each one was opened up, filled and bridged, then the whole slab was diamond ground so the base coat bonds into the concrete instead of sitting on it.
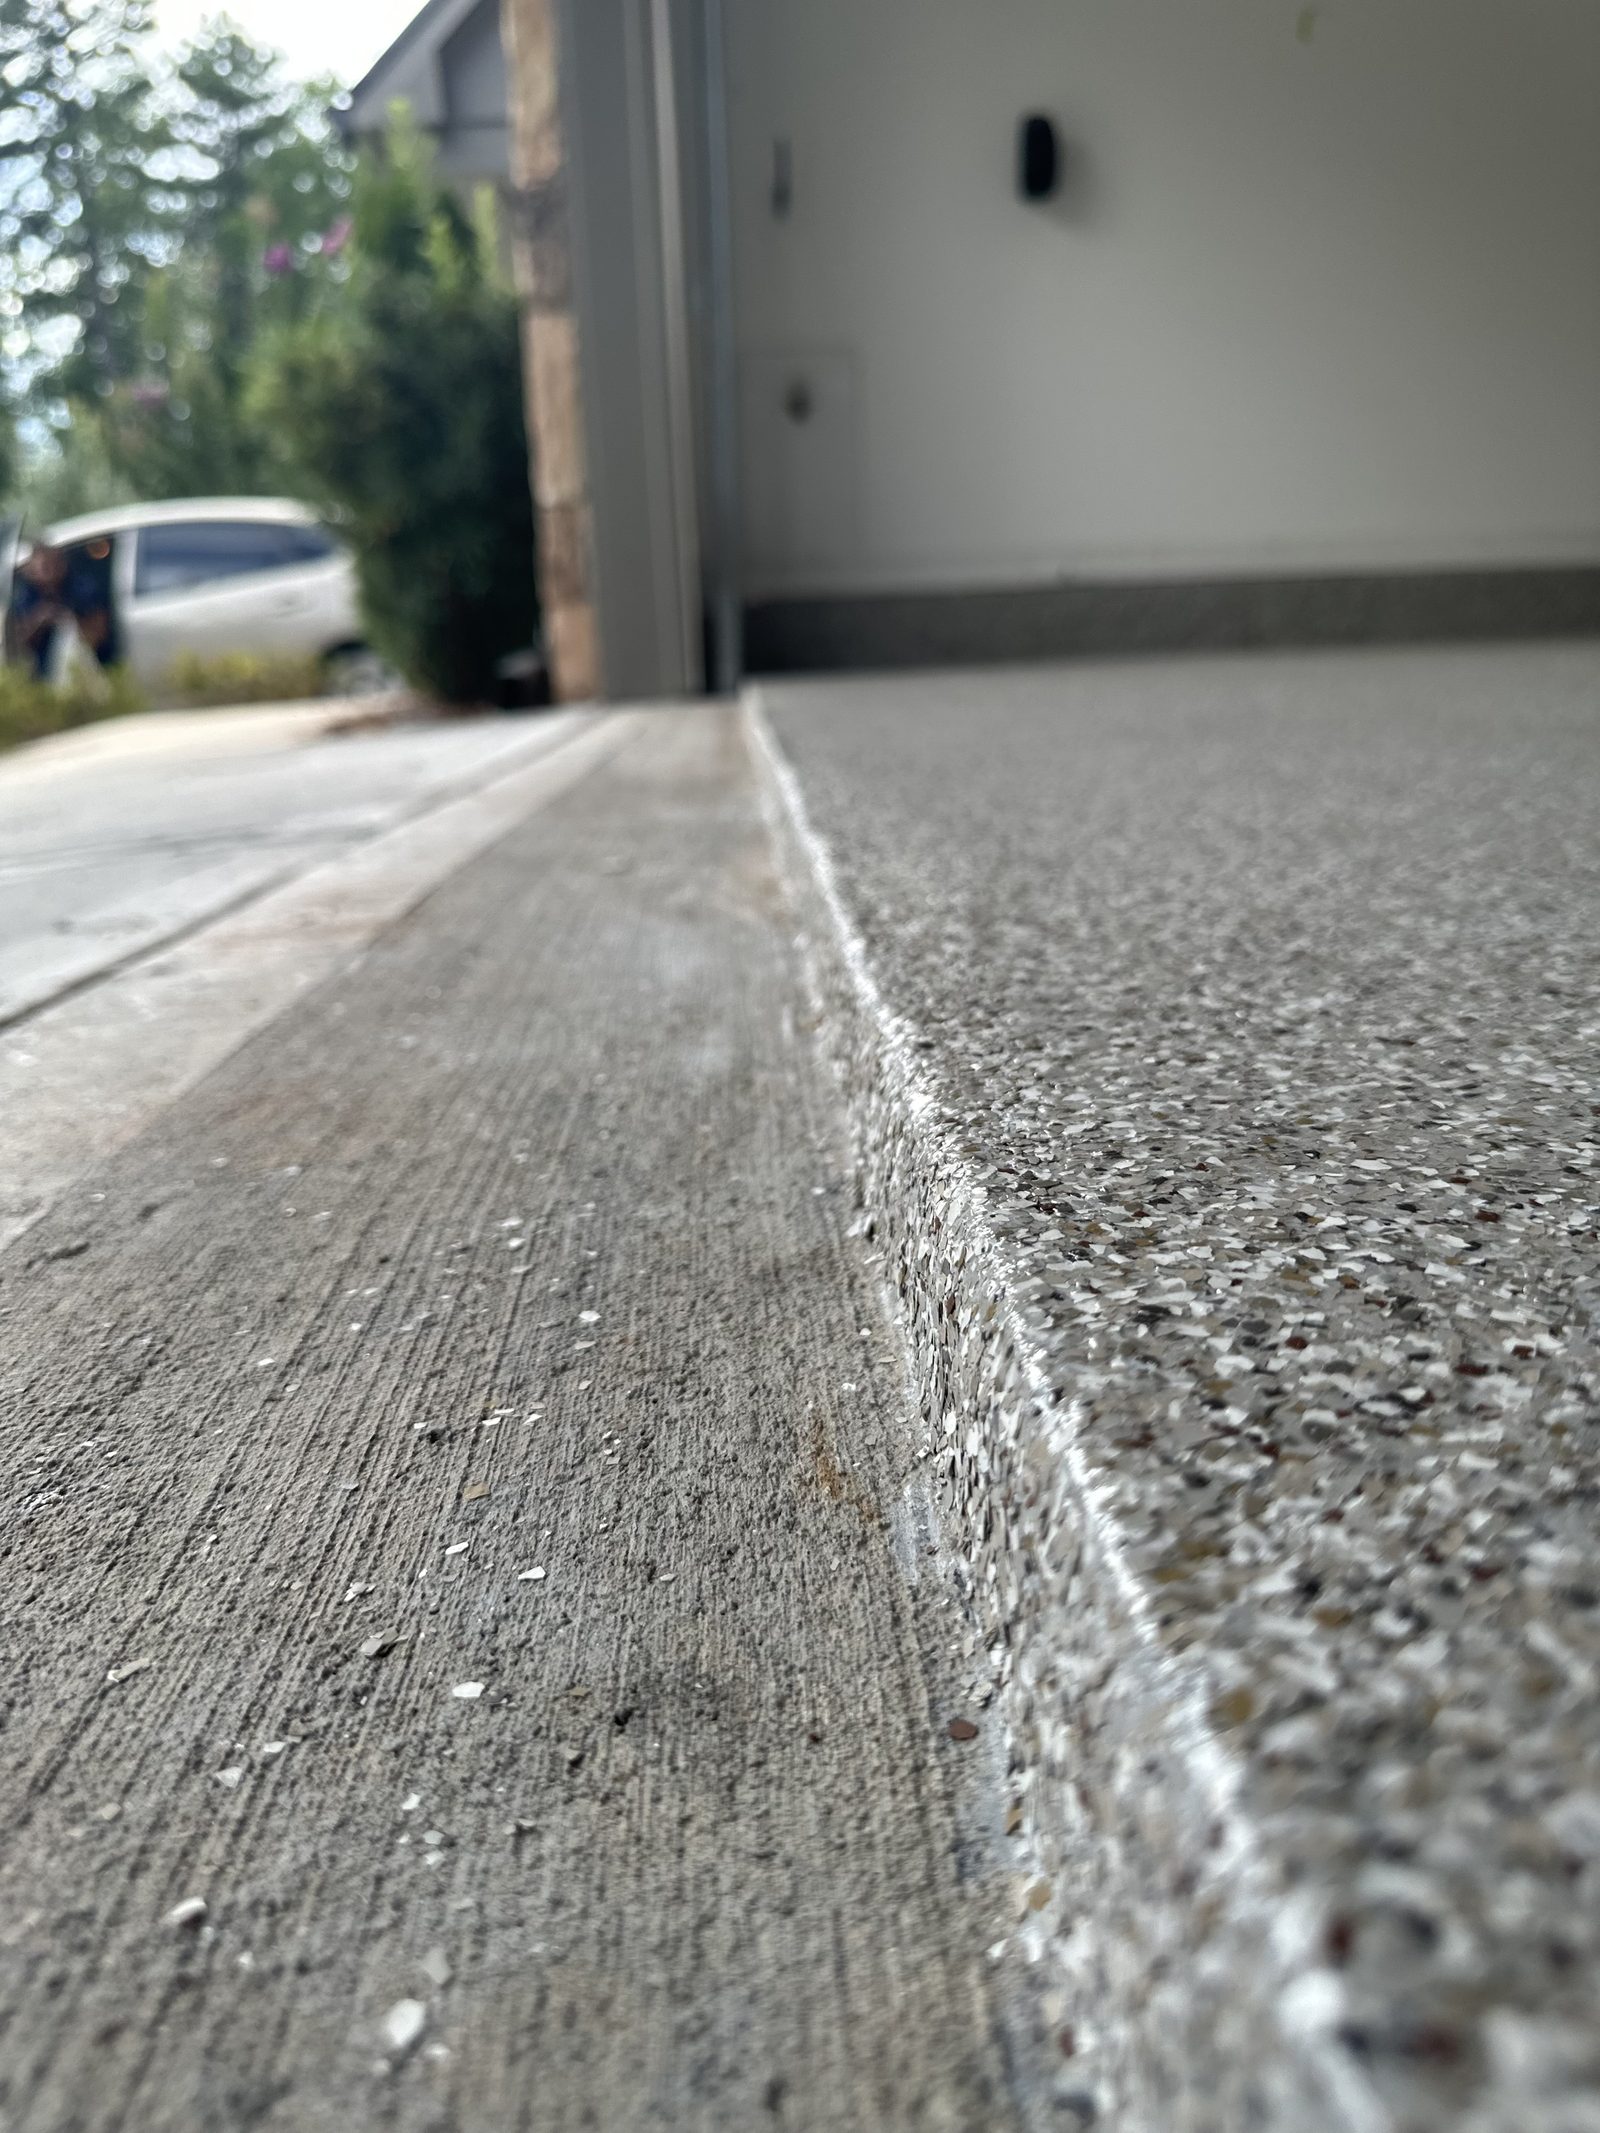
The other detail on this job was the threshold. Where the coating meets the driveway it has to stop in a straight, sealed line.
The process
Six steps. No shortcuts.
The sequence never changes. What changes is the system we put down — decided by the moisture readings and the condition of the slab. Most installs take one to two days.
01
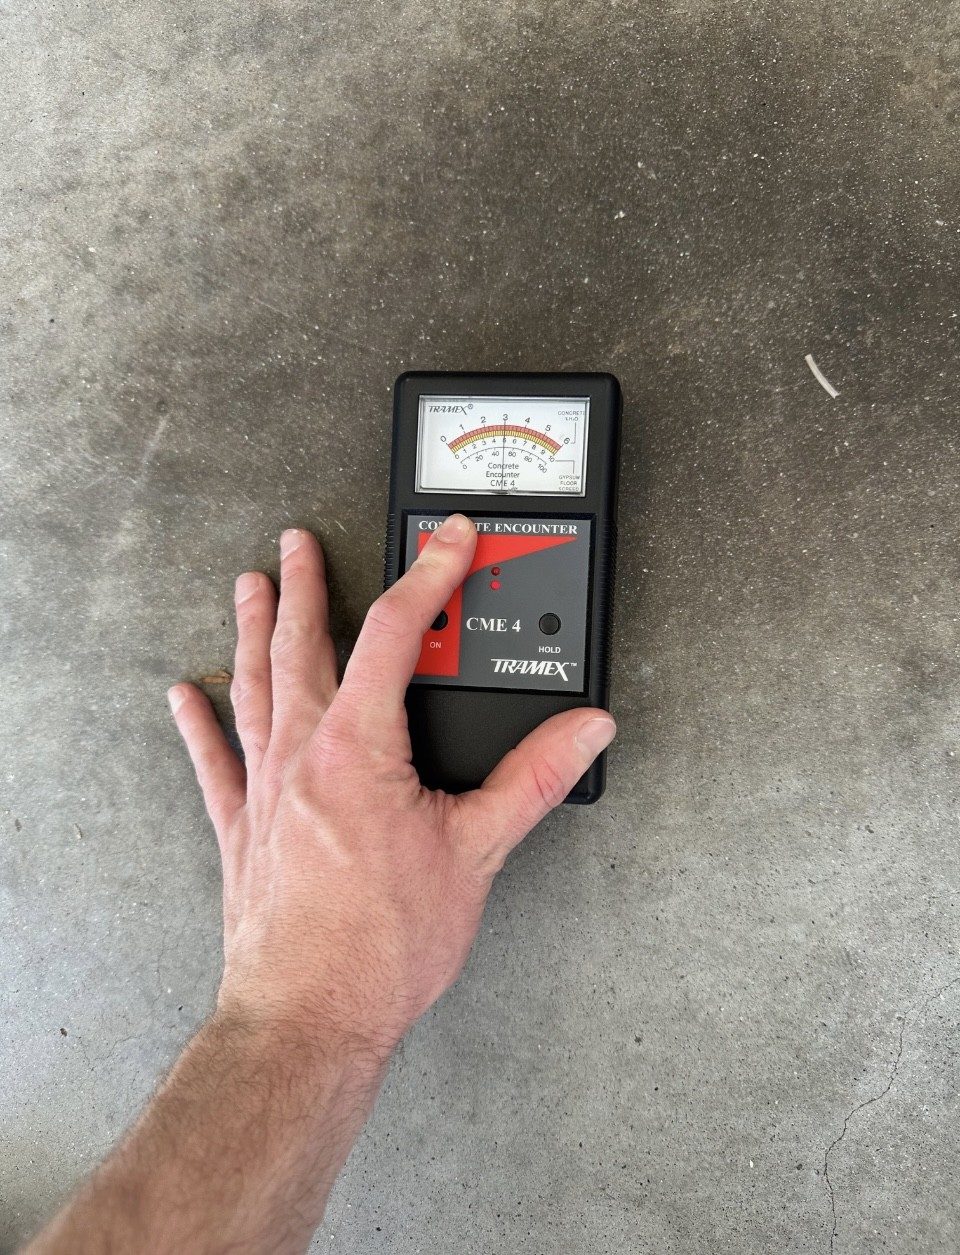
Inspect & measure
We take moisture readings on the bare slab, check concrete condition, cracks and stem walls, and measure square footage.
02
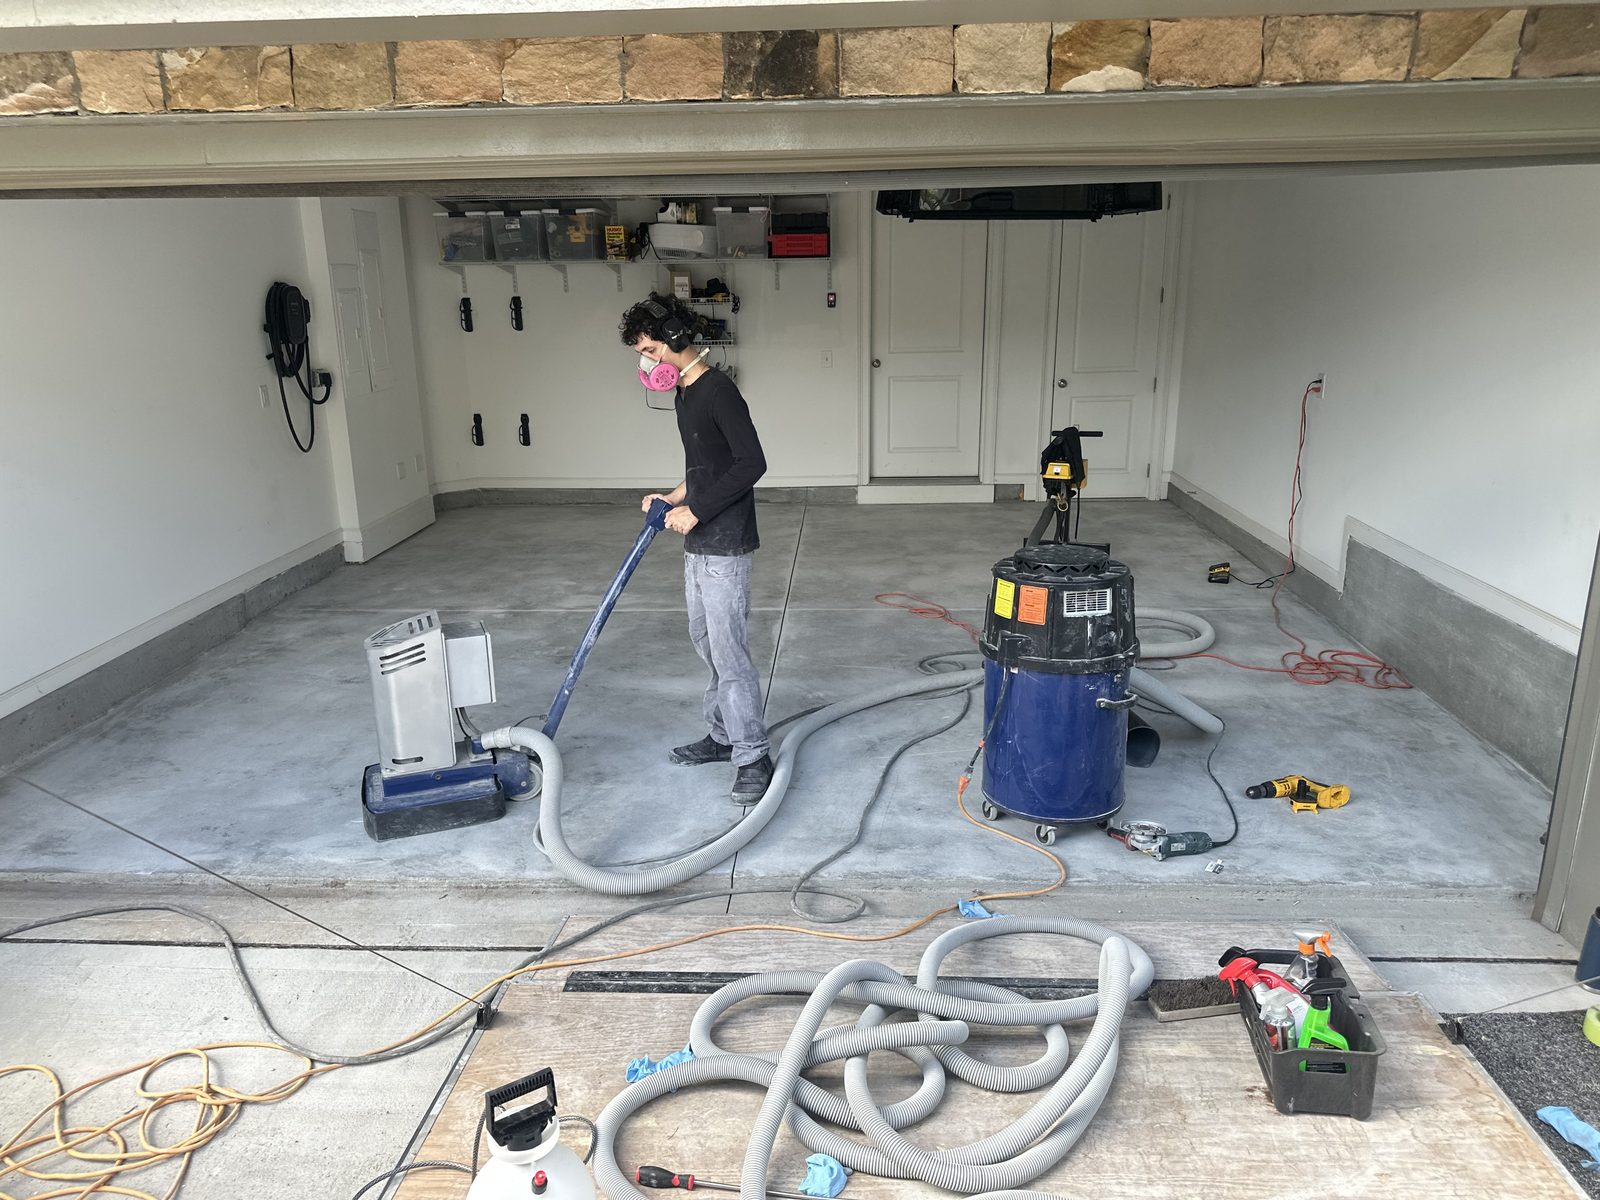
Diamond grind
Diamond grinding opens the surface so the coating bonds into the concrete instead of sitting on top of it.
03
Repair cracks & stem walls
Cracks, control joints and crumbling stem walls get filled and rebuilt before any coating goes down.
04
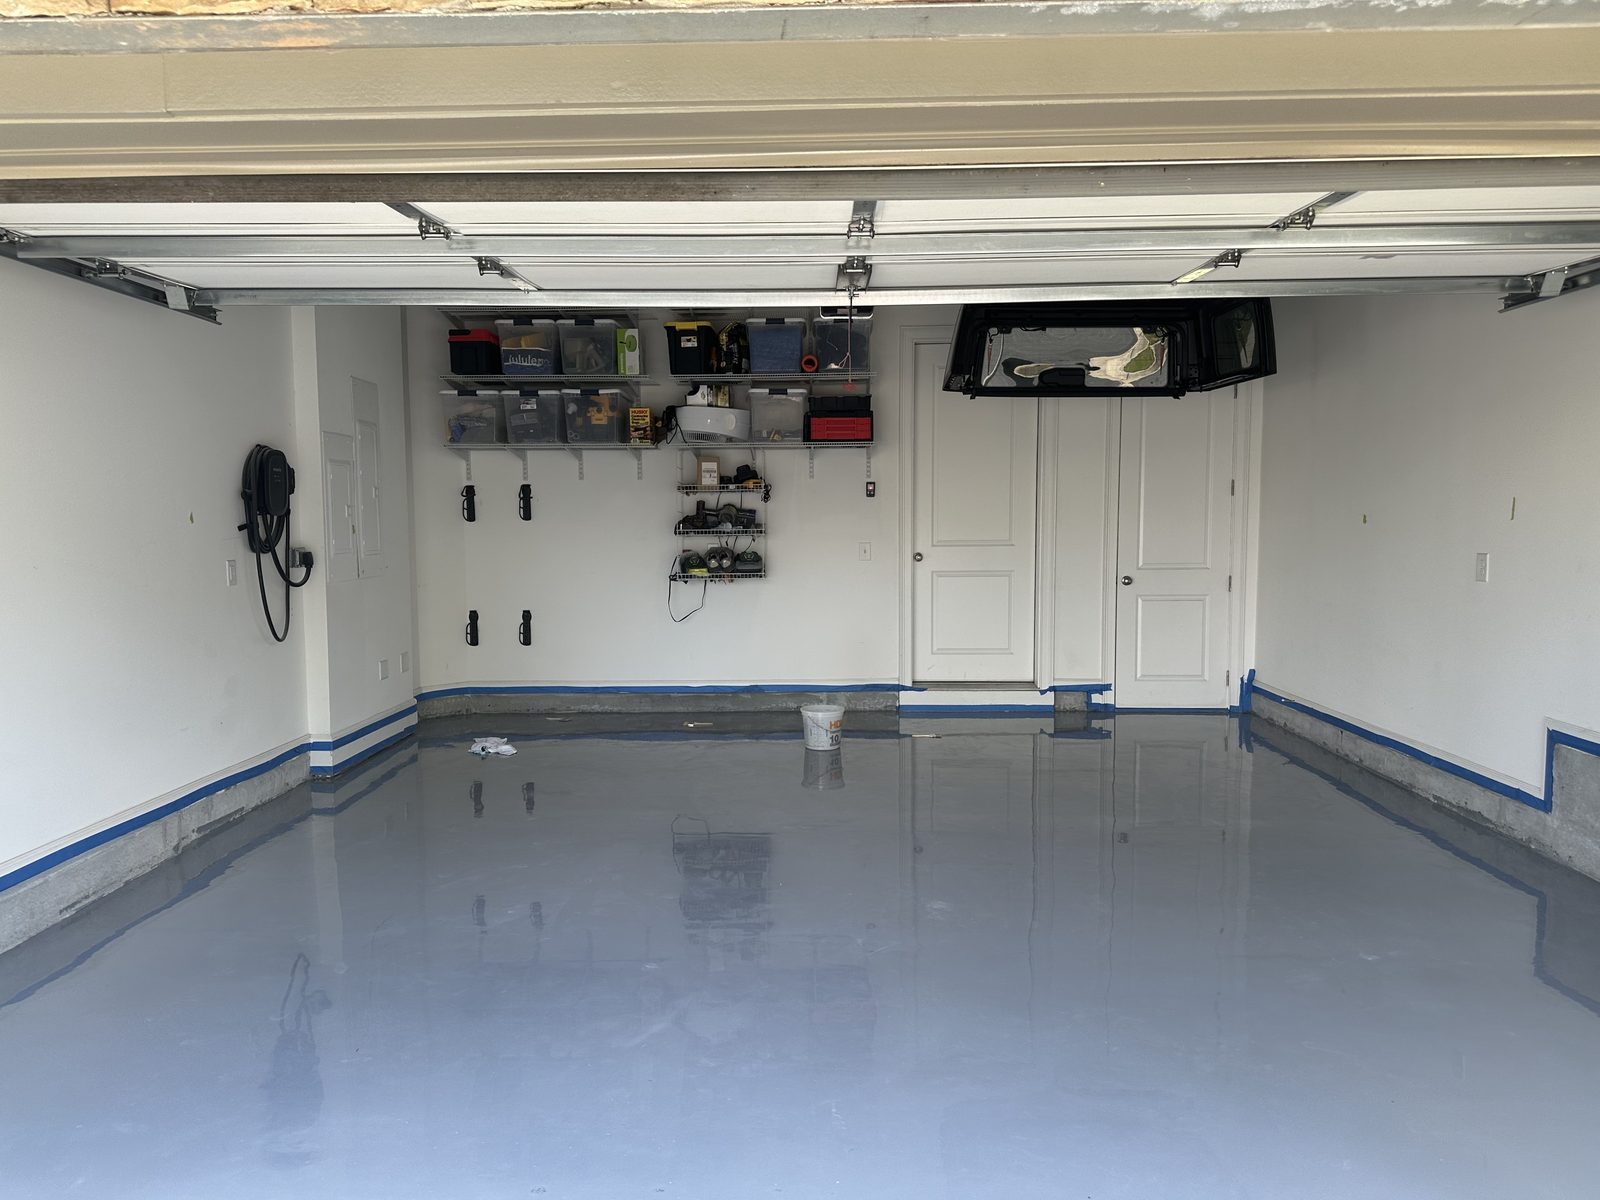
Base coat
An epoxy or polyurea base goes down wet and bonds into the ground concrete.
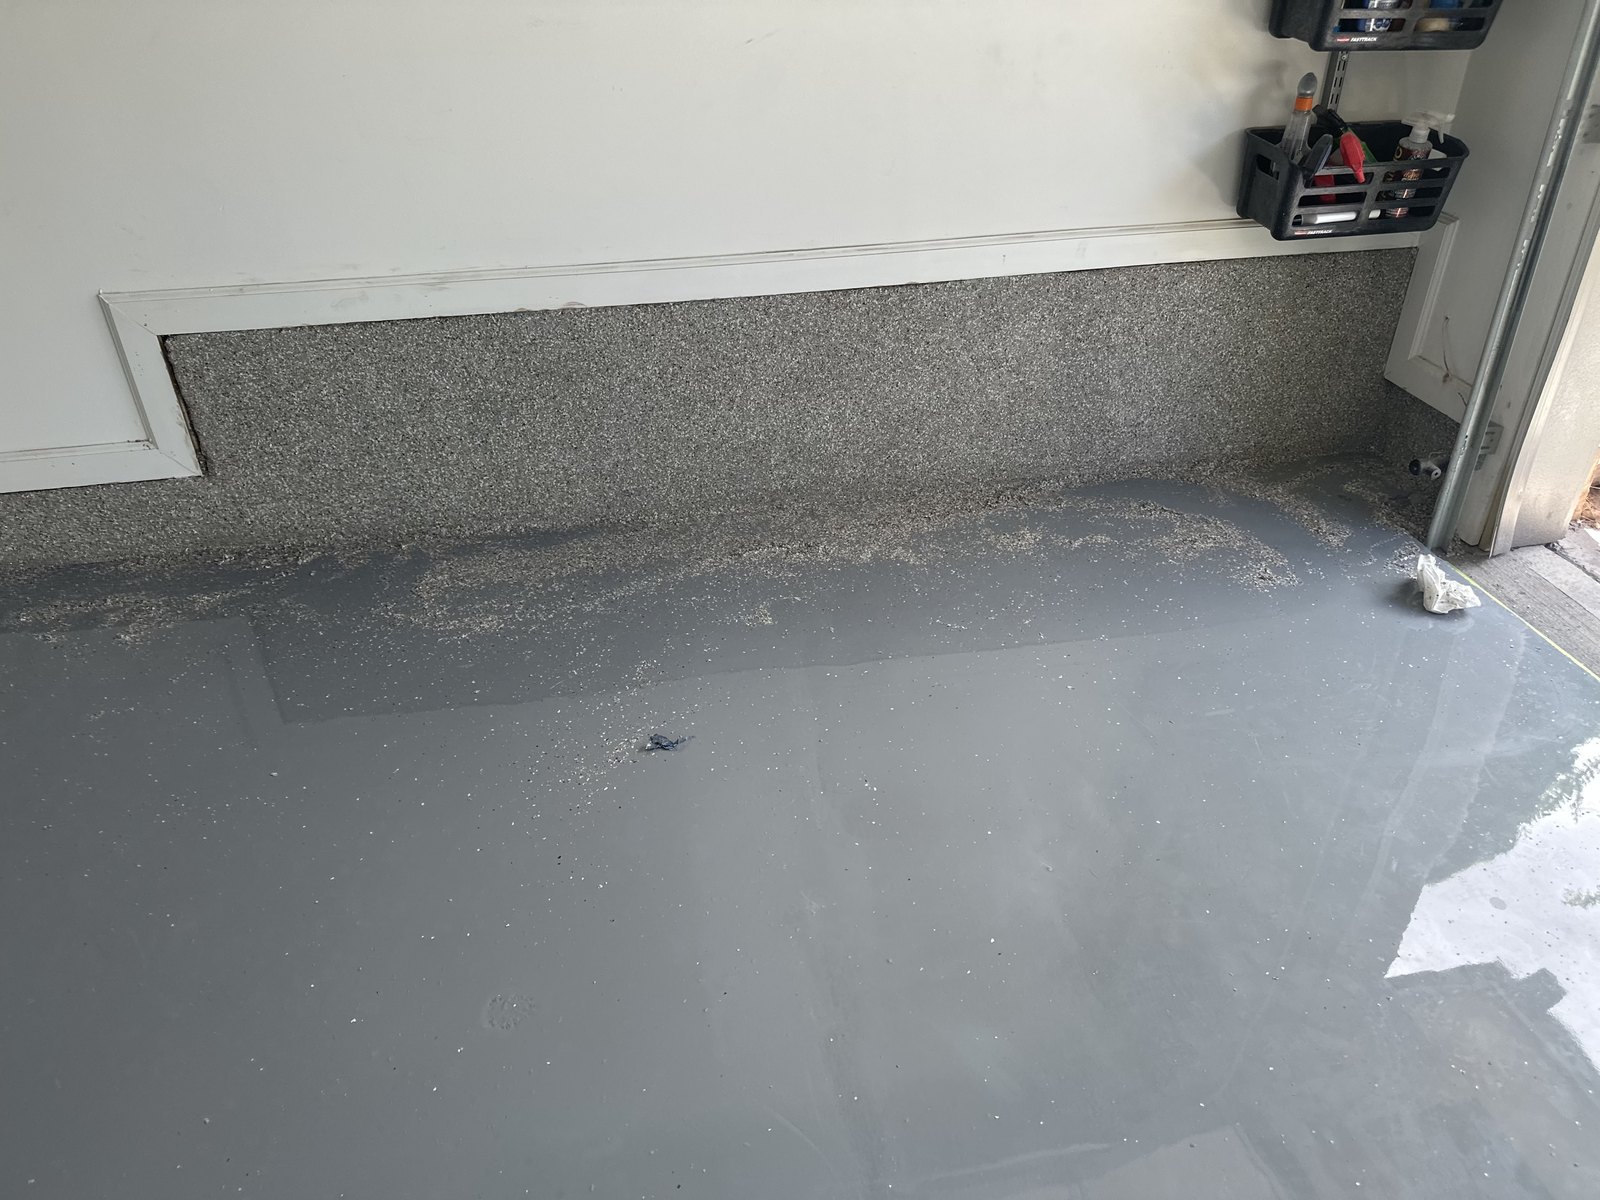
05
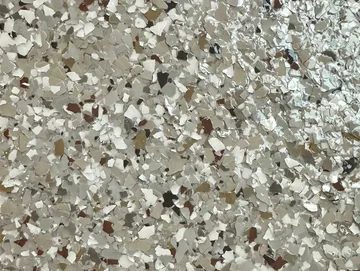
Full flake broadcast
Flake is broadcast to refusal across the wet base, then scraped and vacuumed once it cures.
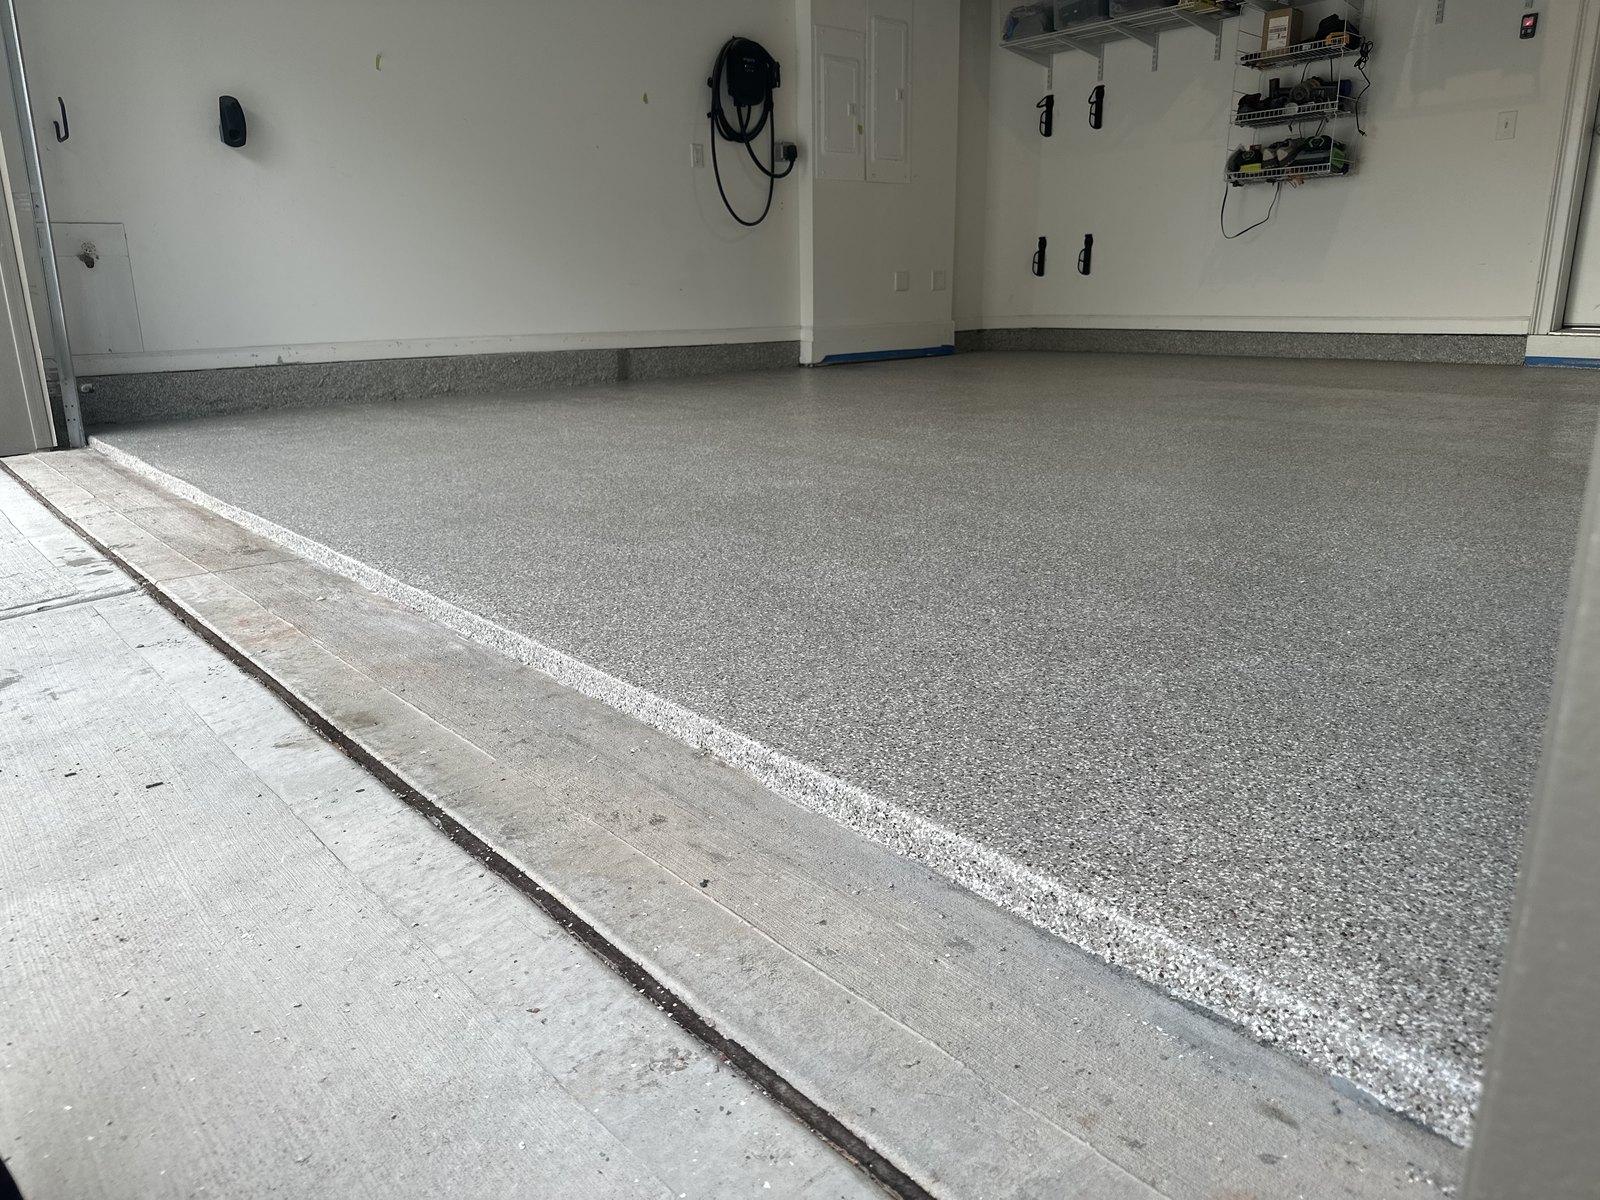
06
Polyaspartic topcoat & walkthrough
A clear polyaspartic topcoat locks in the flake and takes the UV, chemicals and traffic.
Step photographs are from Final Finish installs — not every step shown was photographed on this job.
The result
Drag the handle
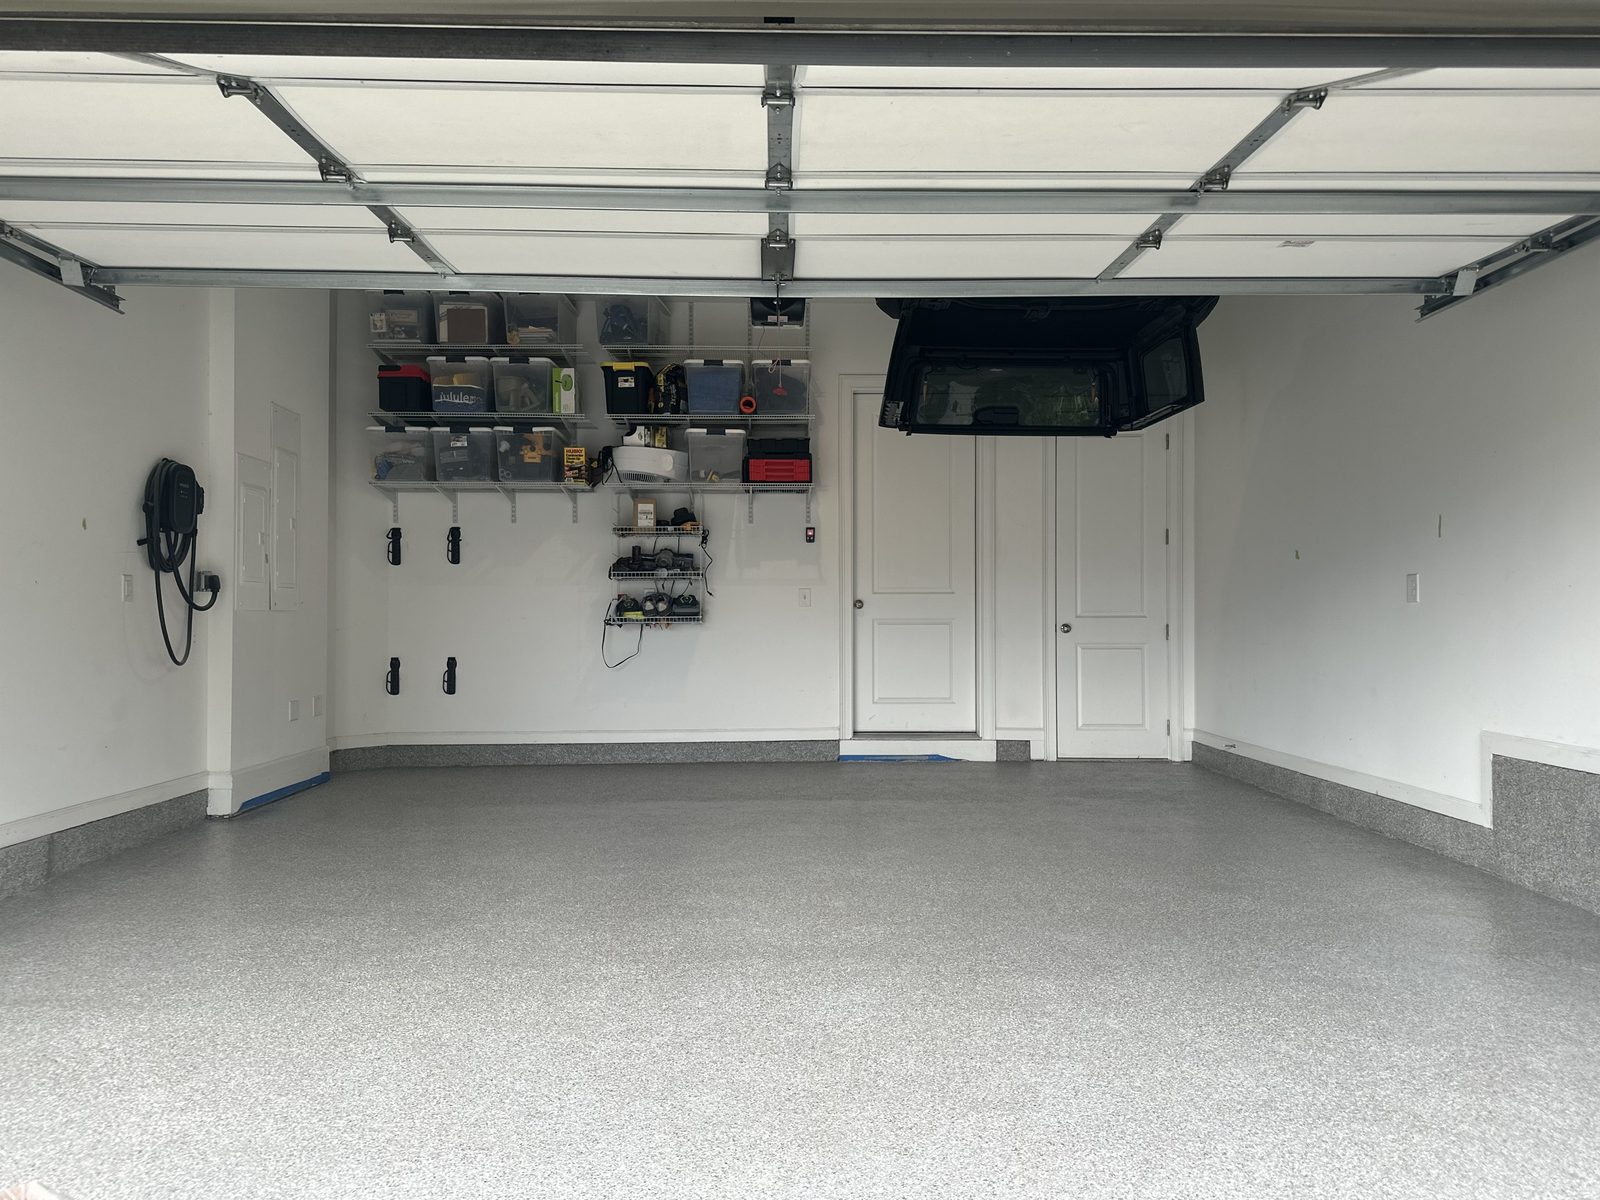
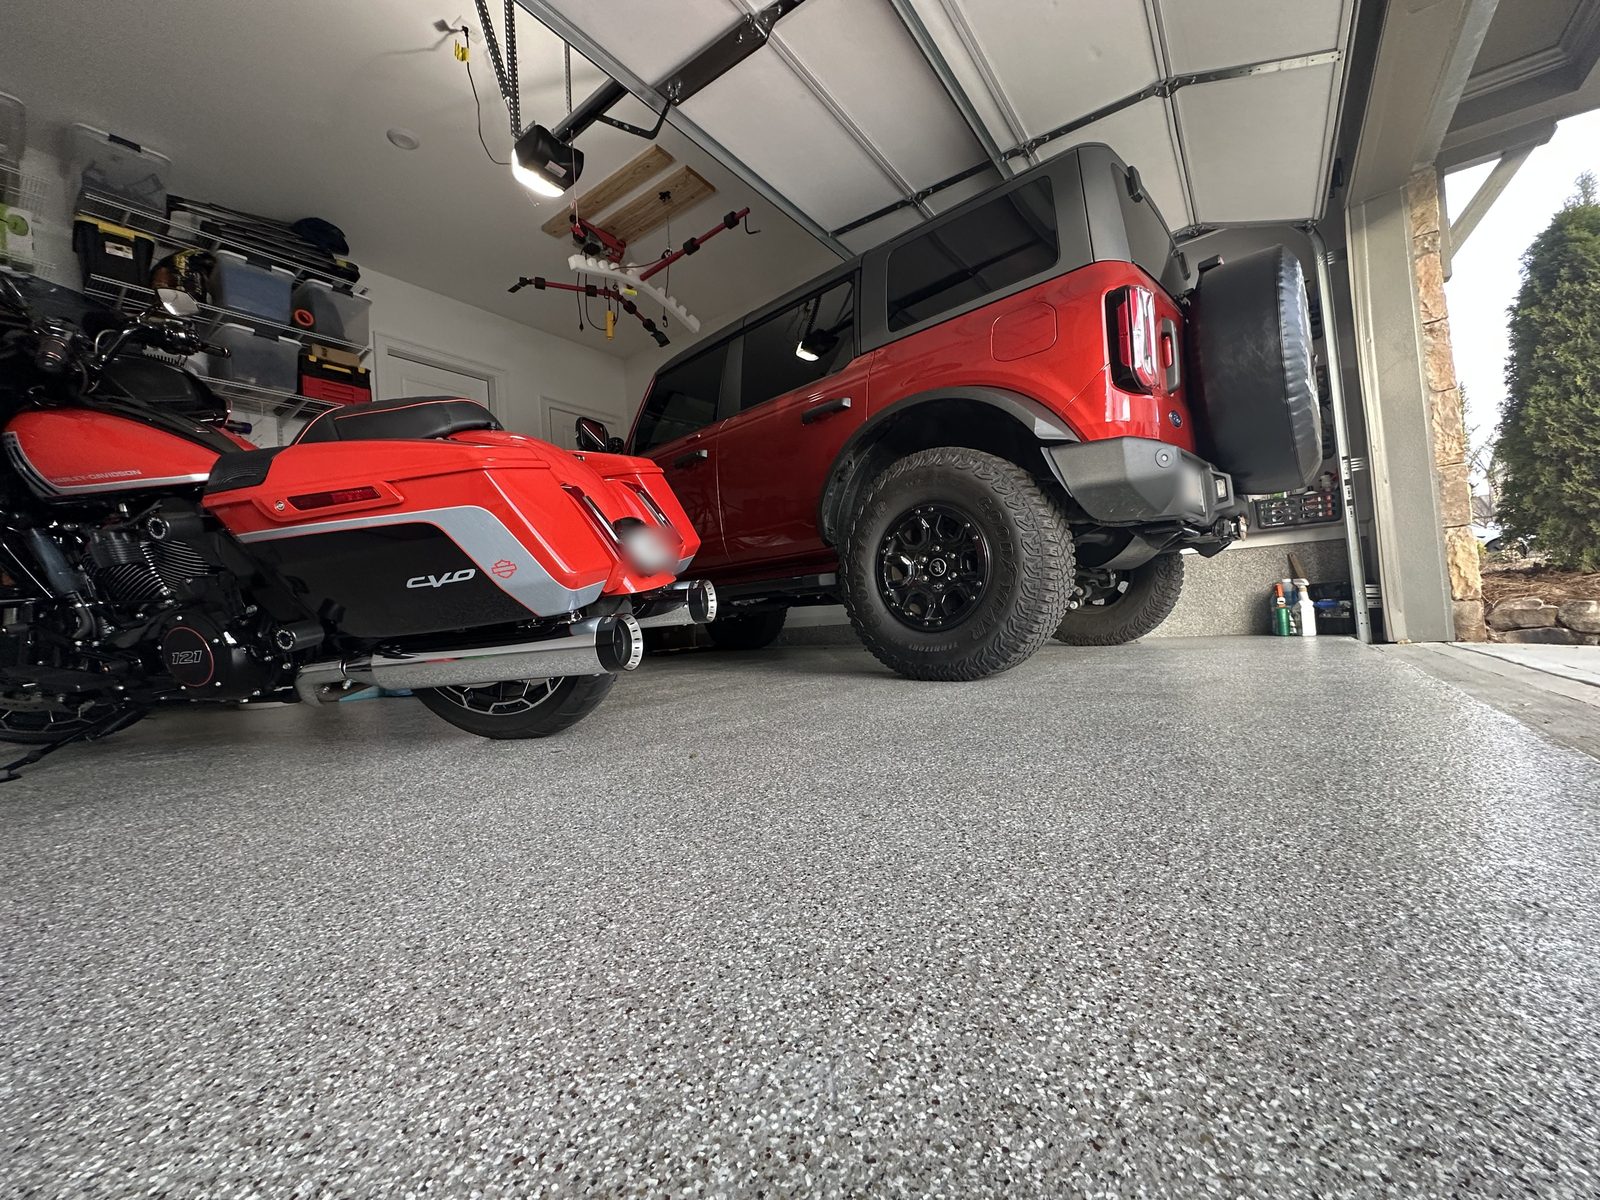
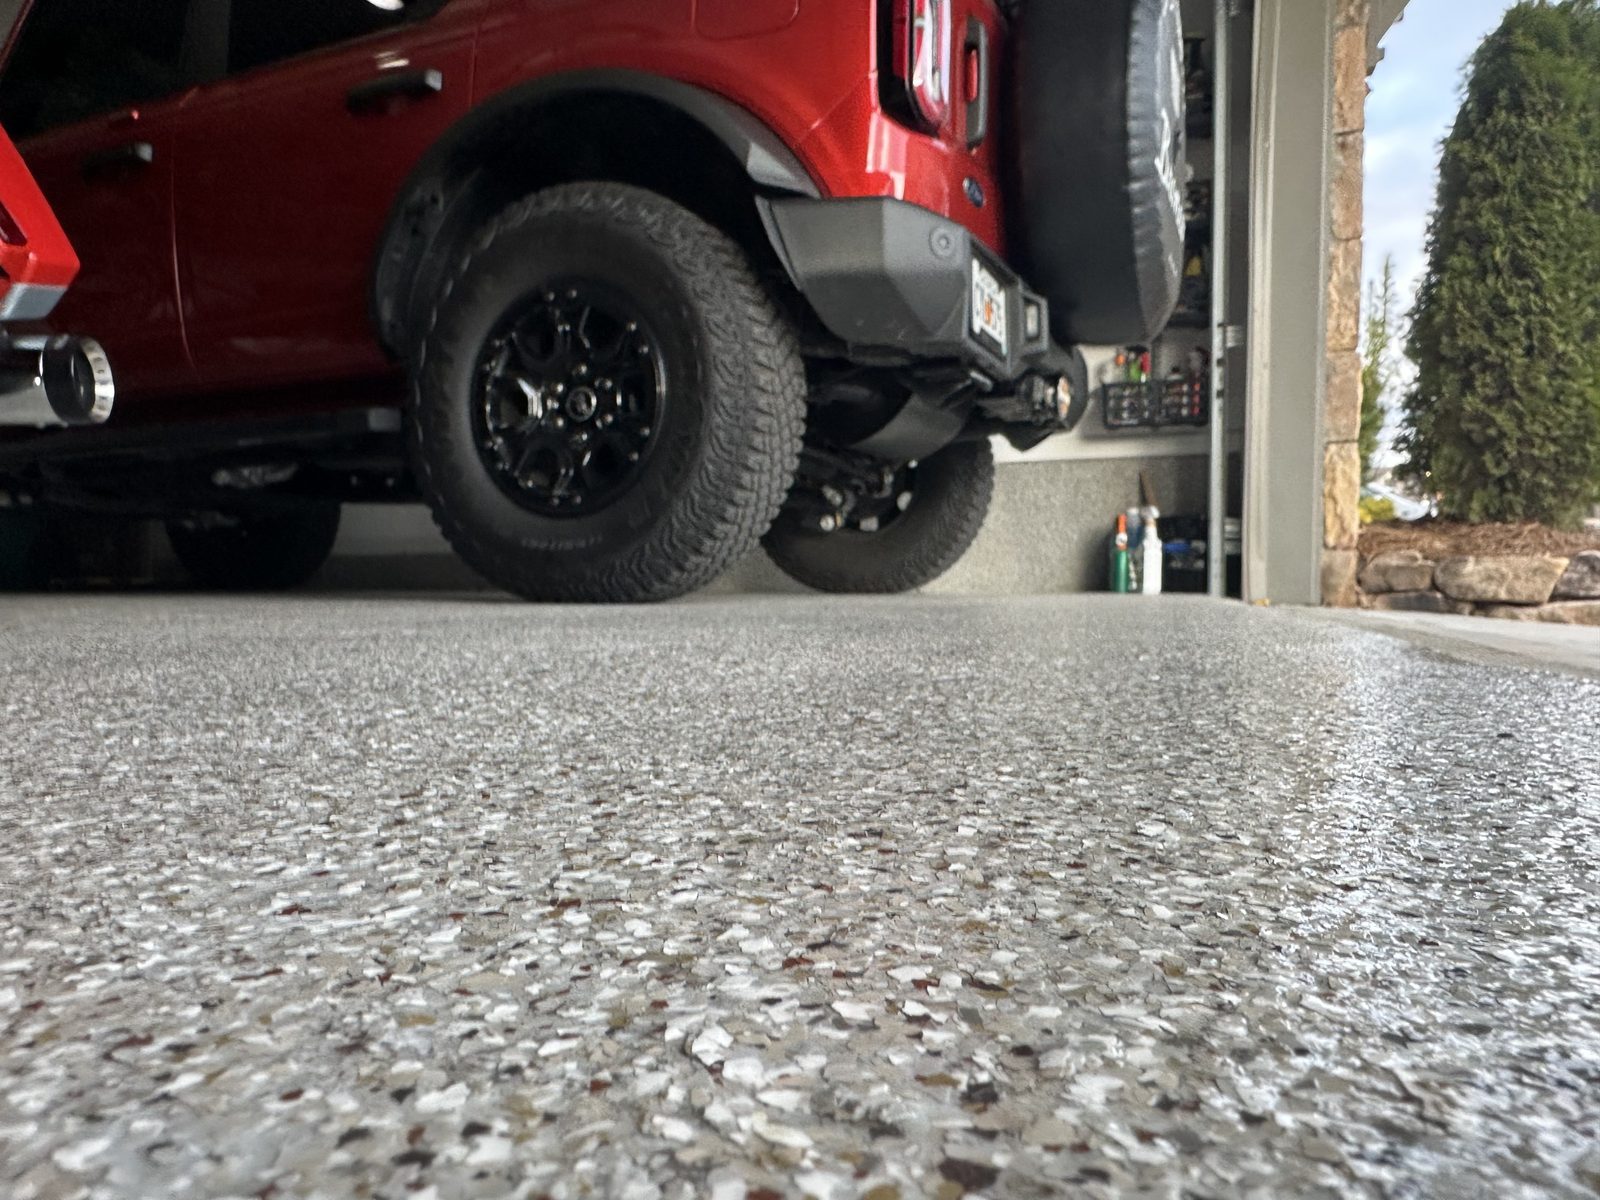
Creekbed full flake, wall to wall, with the coating carried up to a clean line at the threshold.
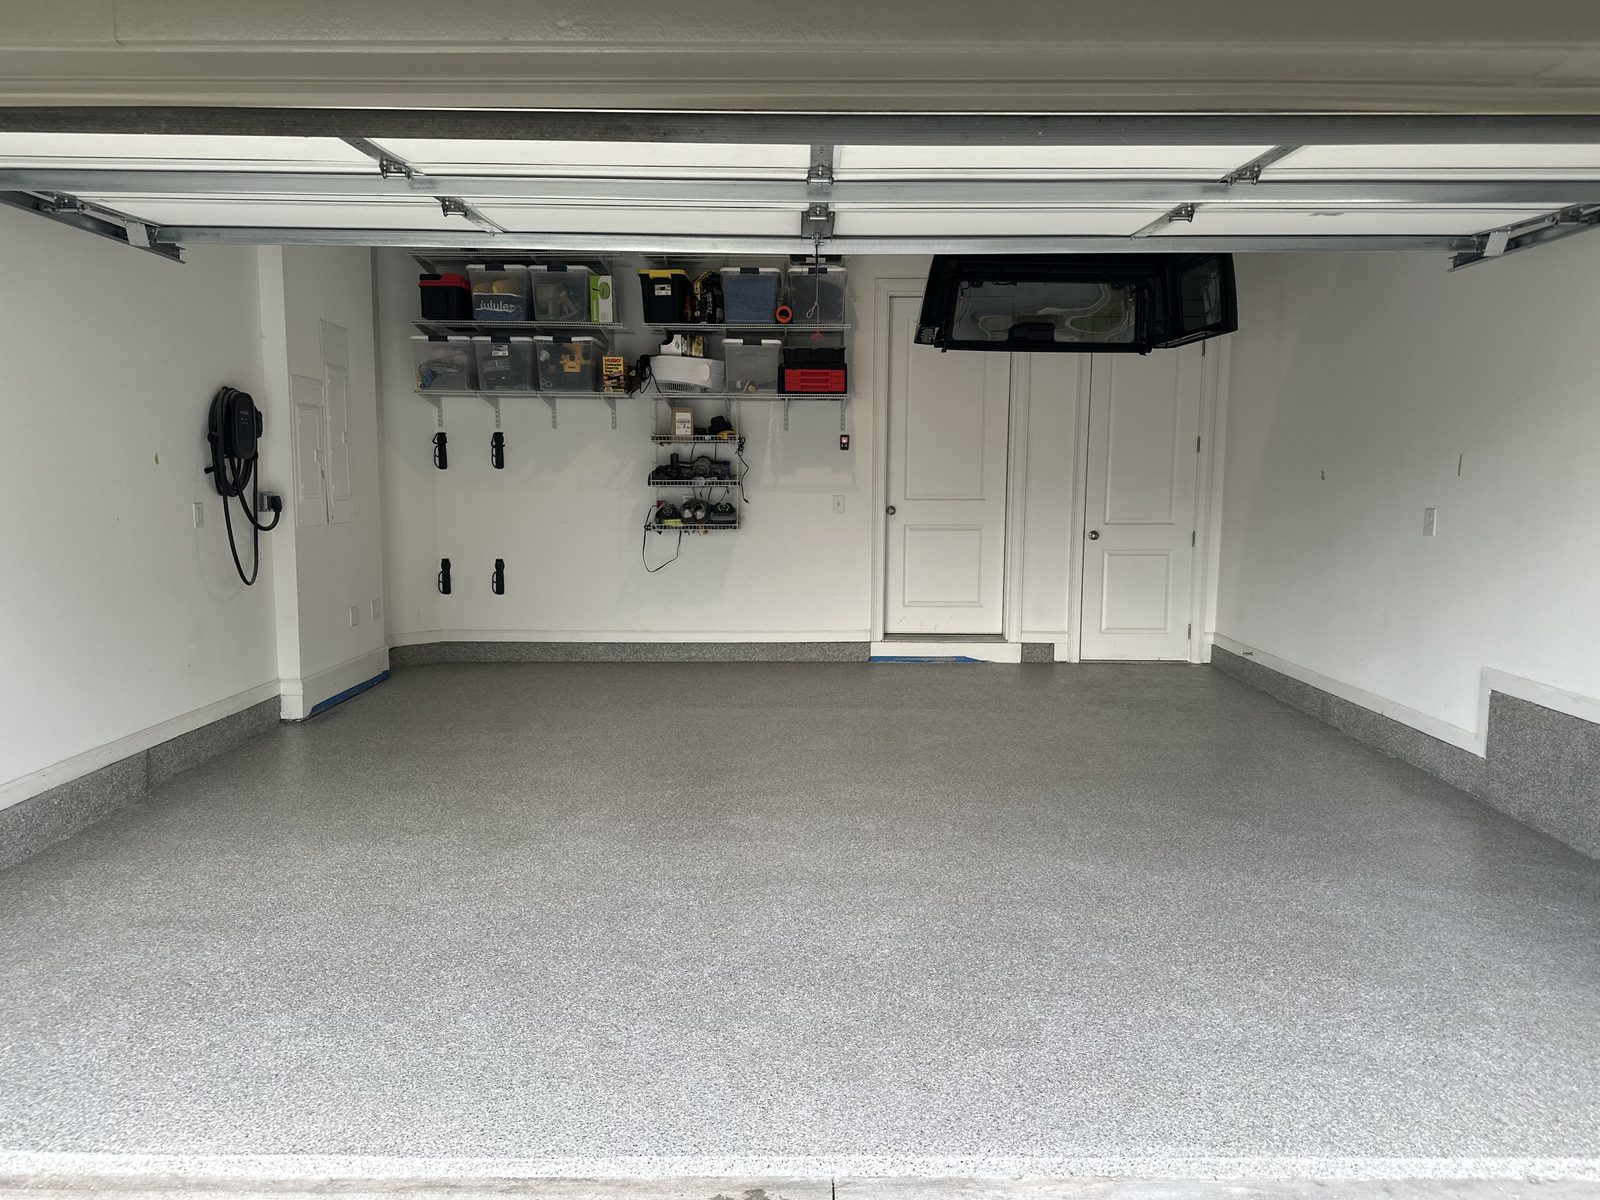
Same garage, same camera position, before and after.
Book an in-home consultation
We measure the space, test the concrete and moisture, and leave you with a quote. Most installs take one to two days — walk on it in 4 hours, drive on it in 24. Projects start at $2,500. We travel for larger jobs.