
How we install
Six steps.
No shortcuts.
Every floor runs the same sequence — first moisture reading to final walkthrough. Most installs take one to two days.
Diamond grinding · Crack & stem wall repair · Full flake broadcast · Polyaspartic topcoat
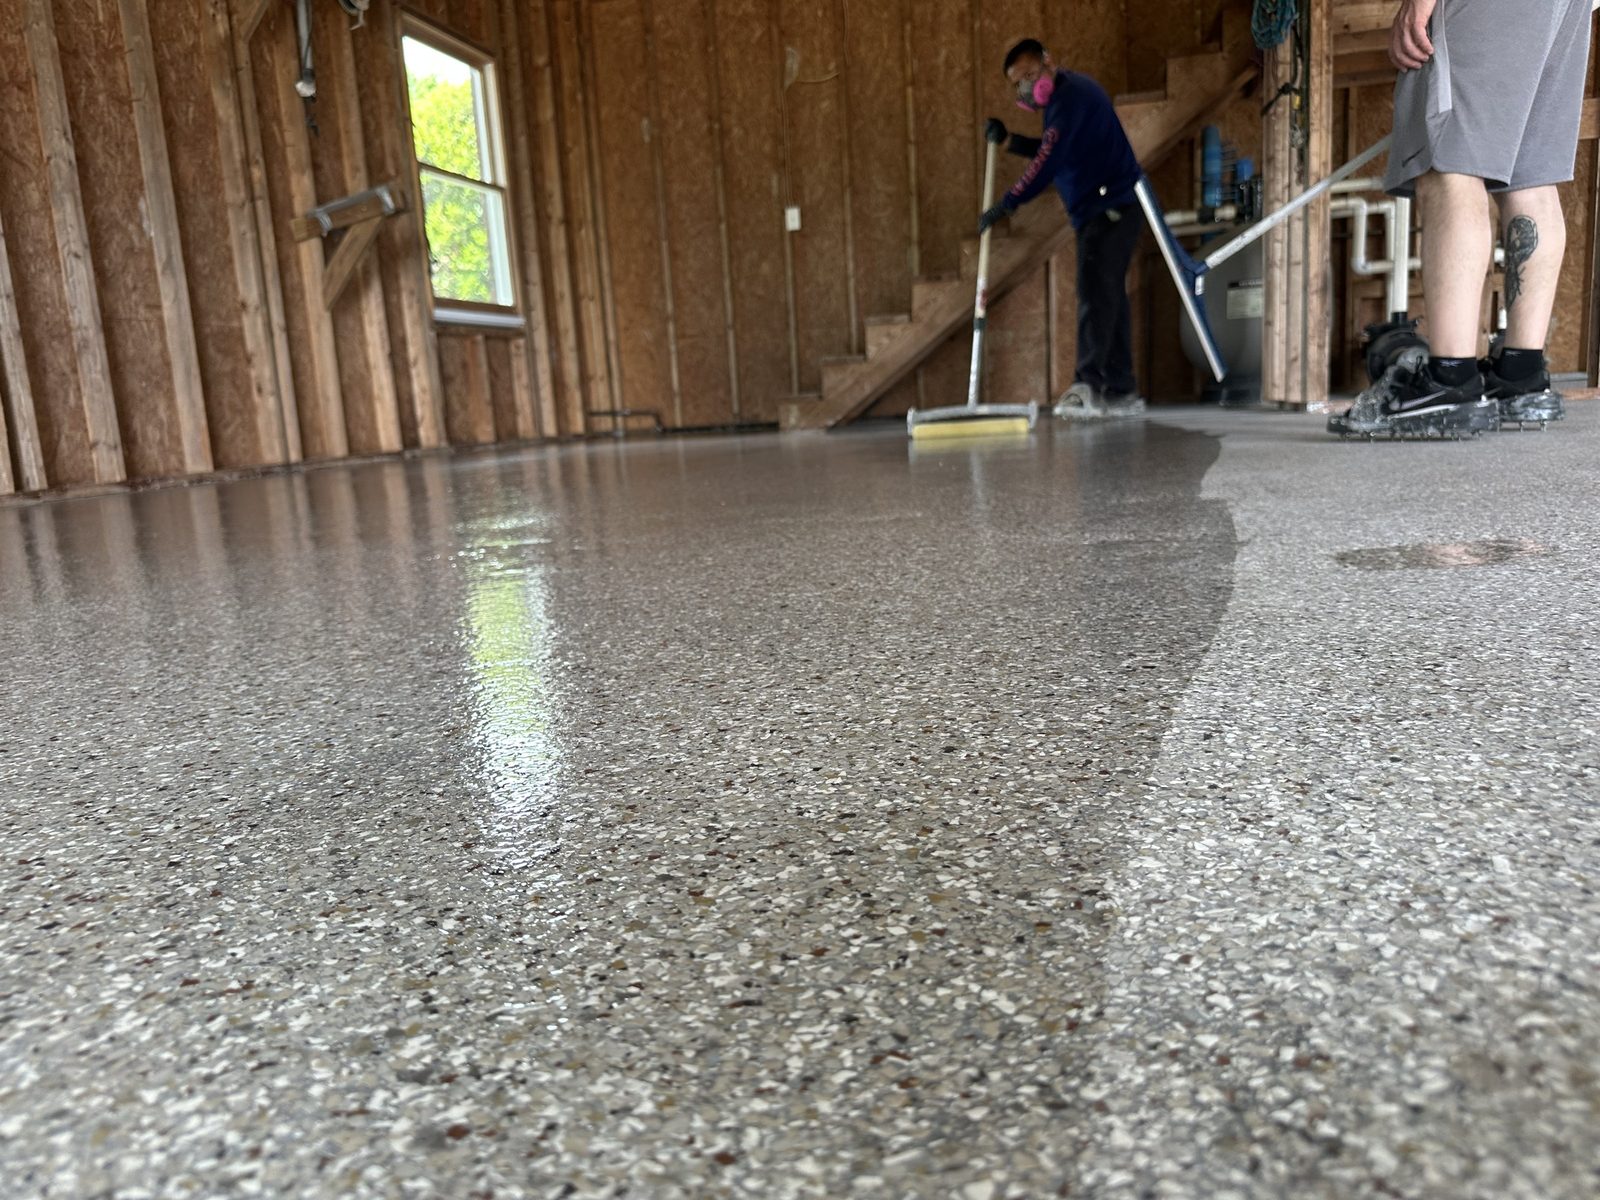
Polyaspartic topcoat going downThe six steps
From bare slab to finished floor
The sequence never changes. What changes is the system we put down — decided by the moisture readings and the condition of your slab.
 1
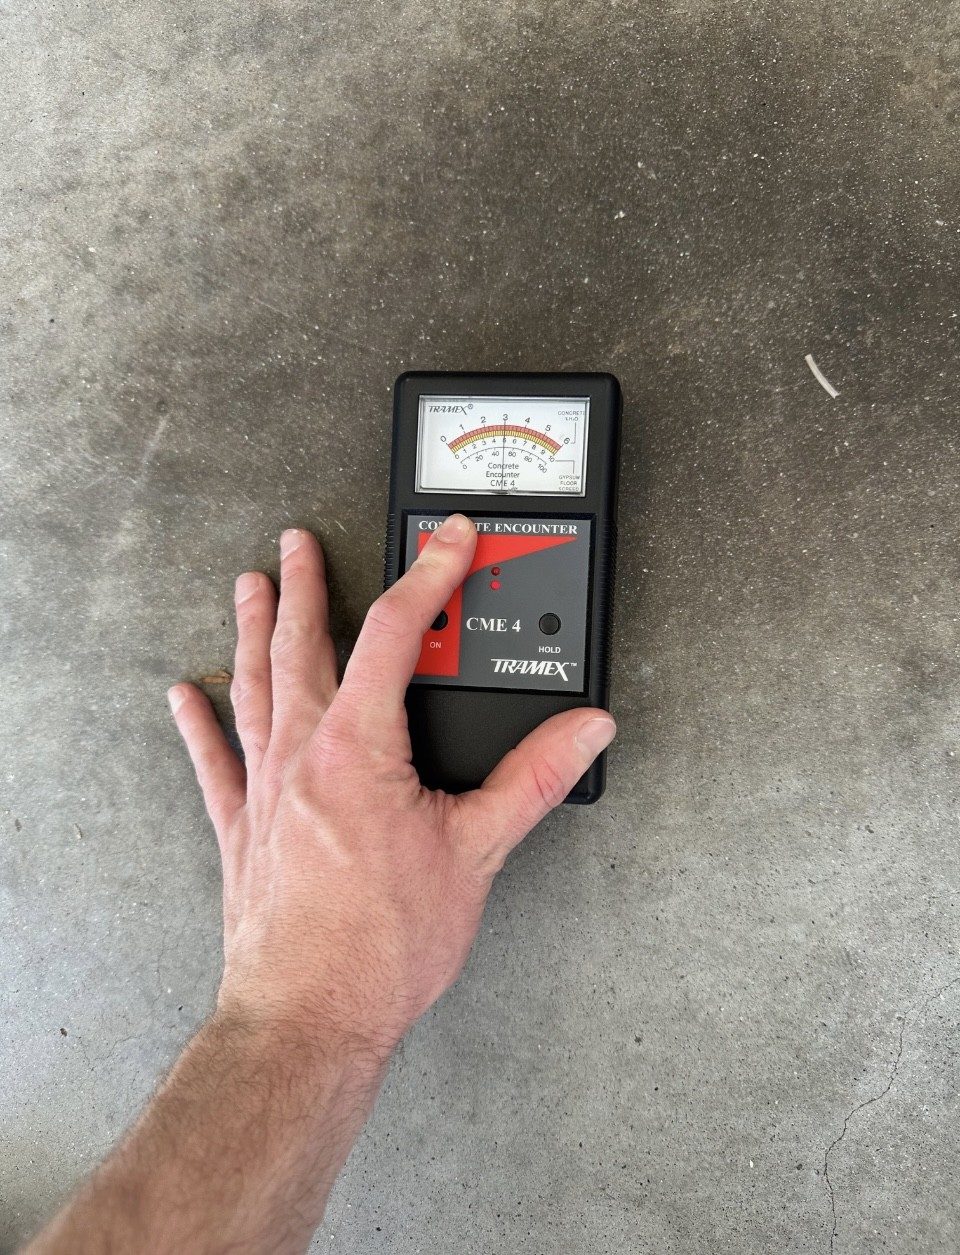
Inspect & measure
We take moisture readings on the bare slab, check concrete condition, cracks and stem walls, and measure square footage. That is what decides the system — and whether a vapor barrier goes underneath it.
 2
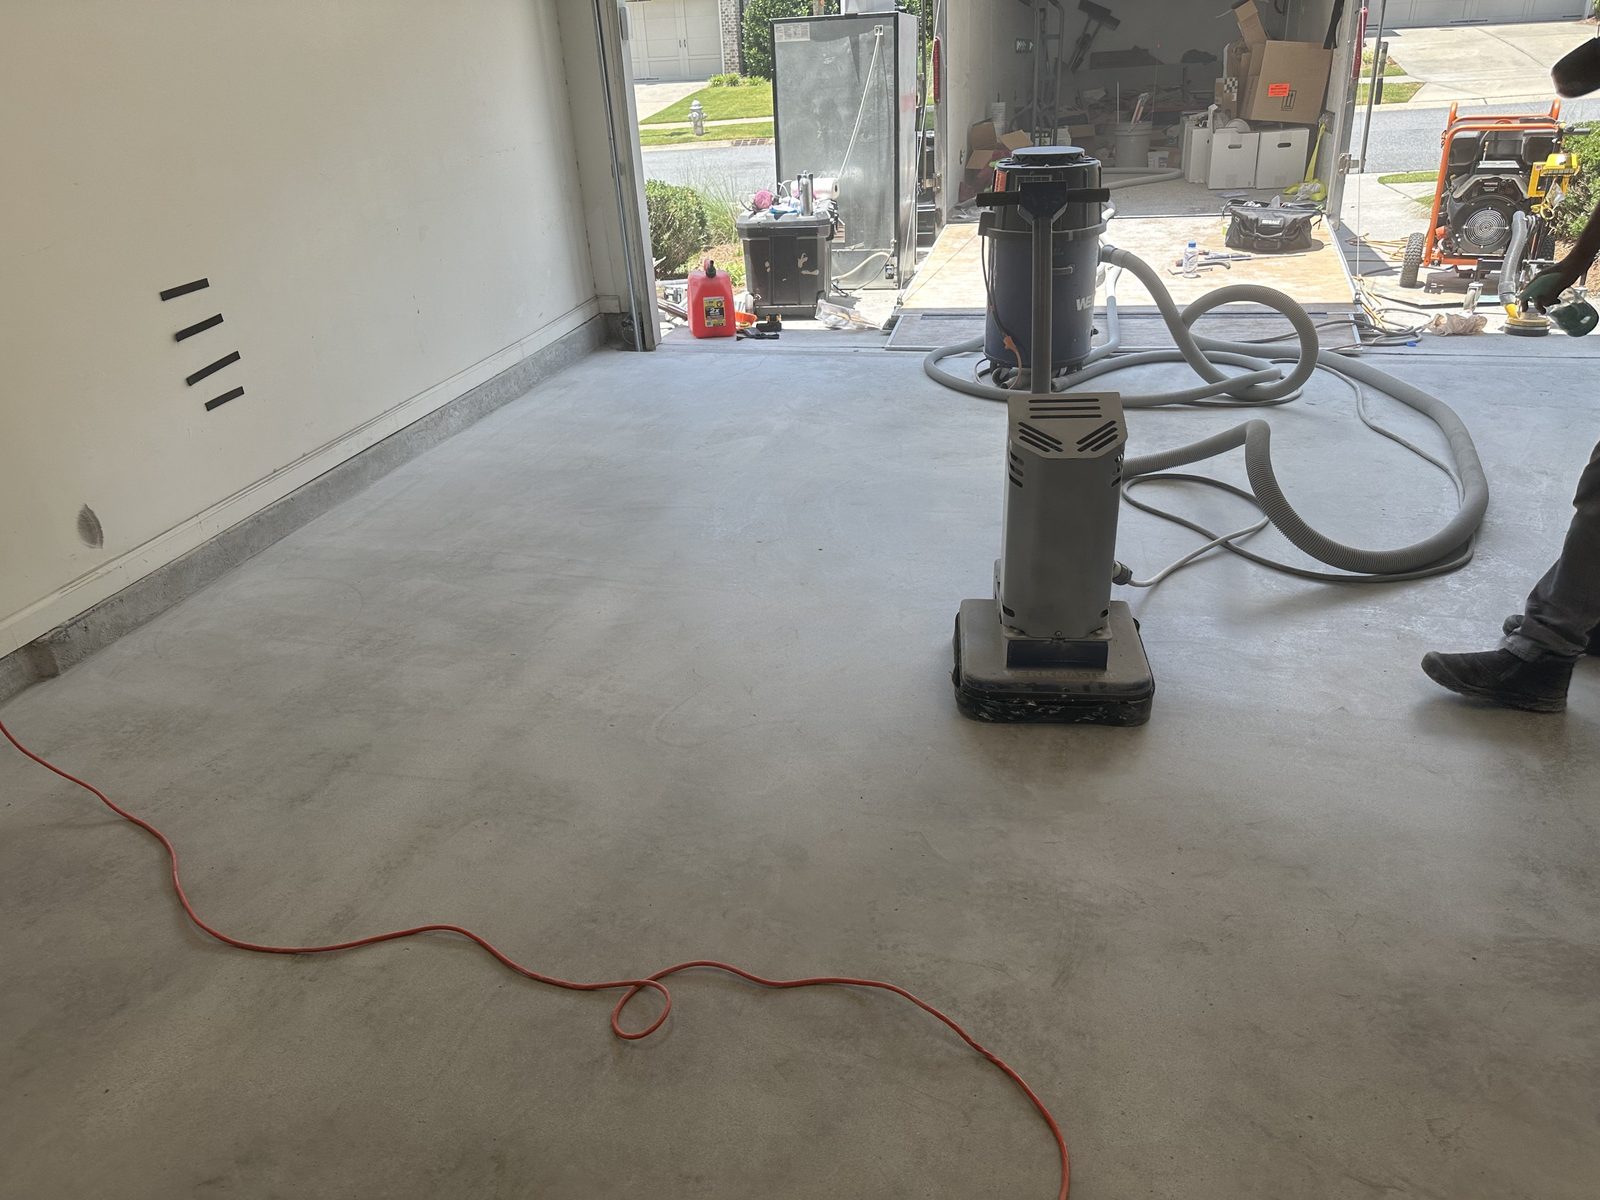
Diamond grind
Diamond grinding opens the surface so the coating bonds into the concrete instead of sitting on top of it. Dust is vacuumed at the machine as we go.
 3
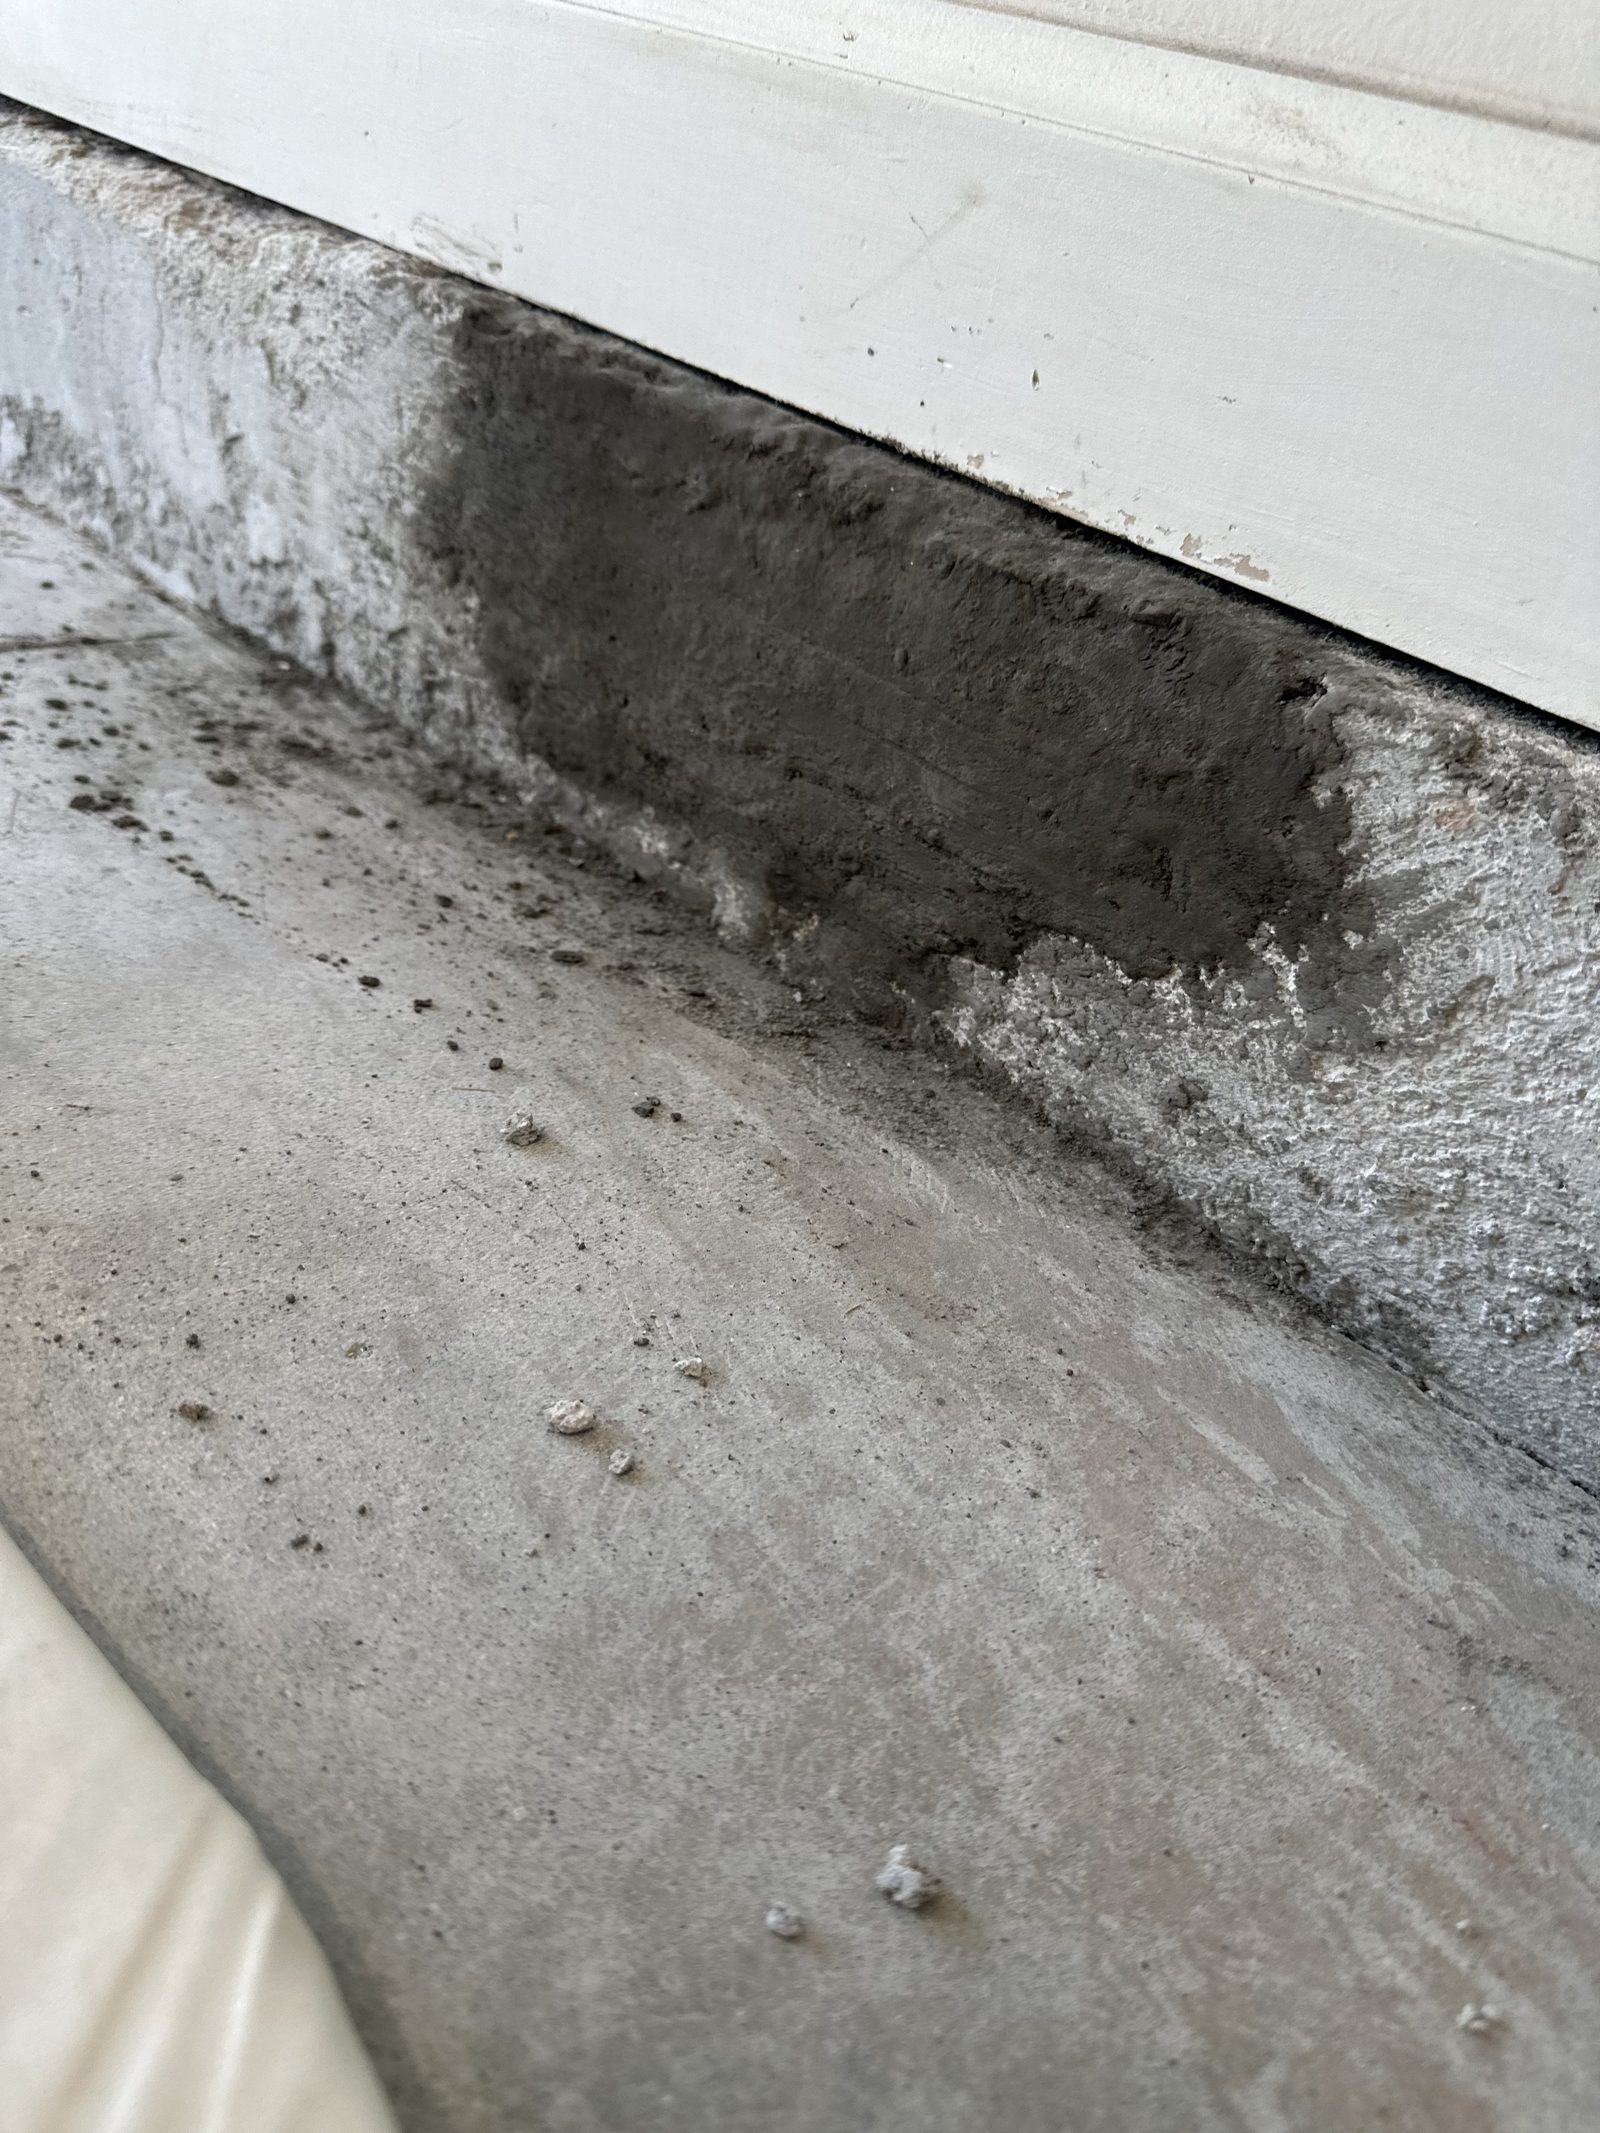
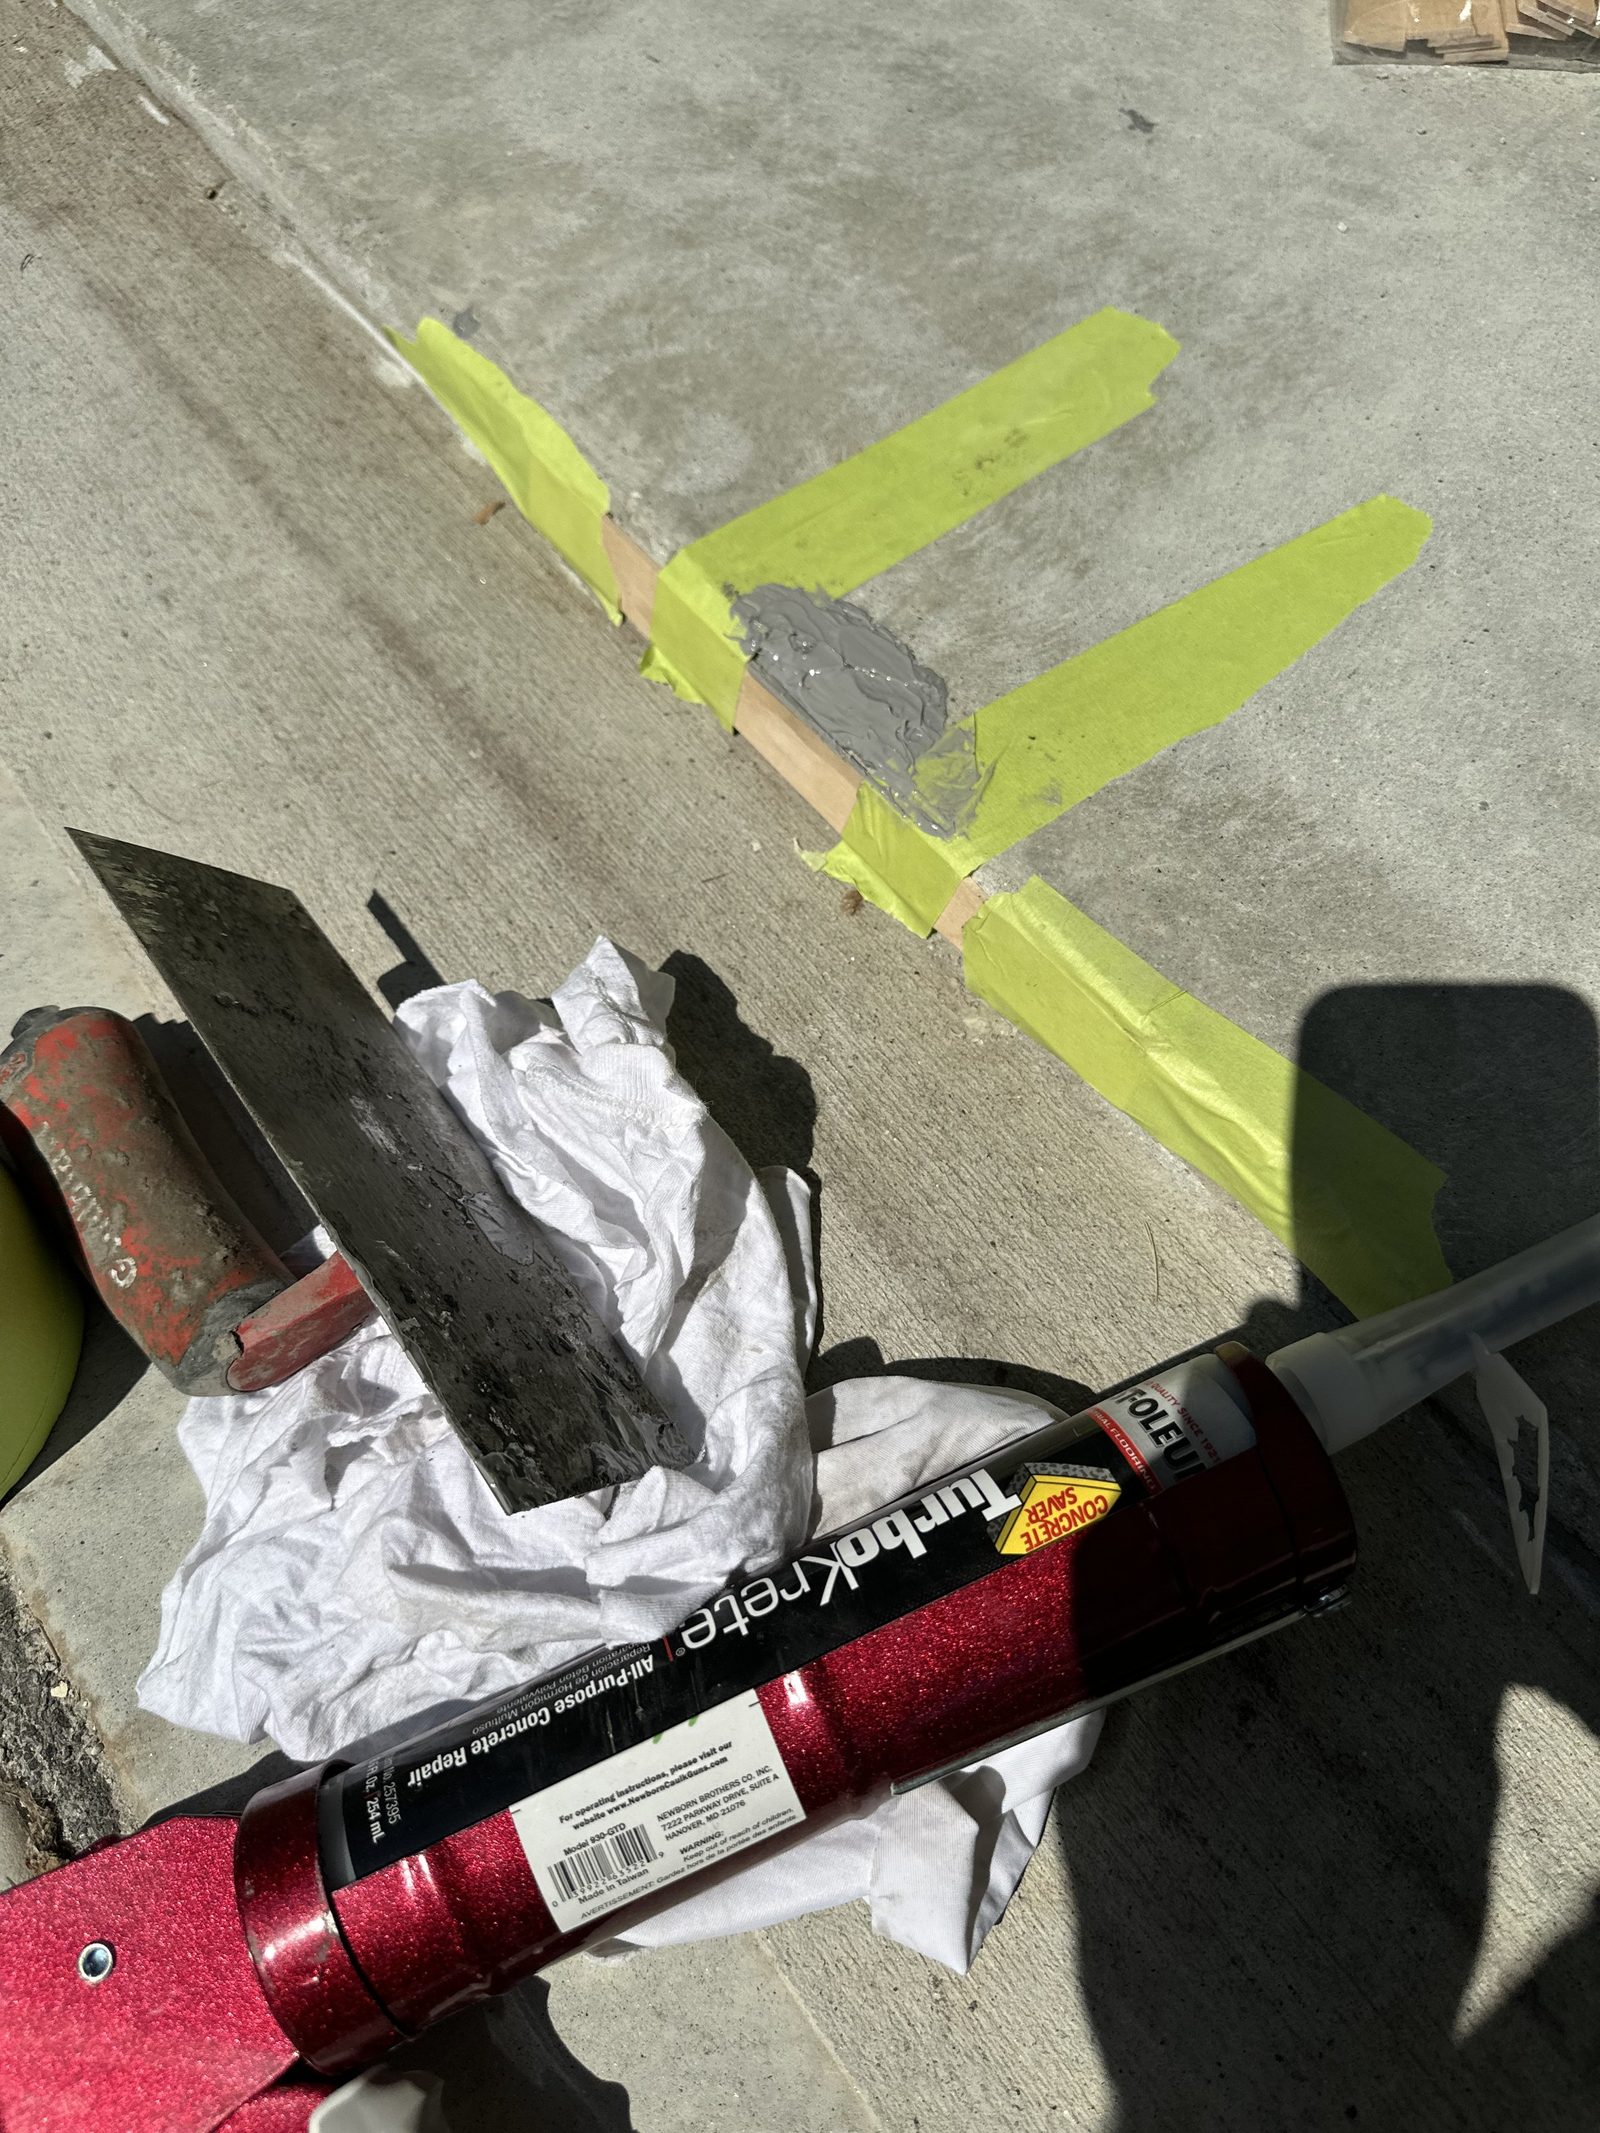
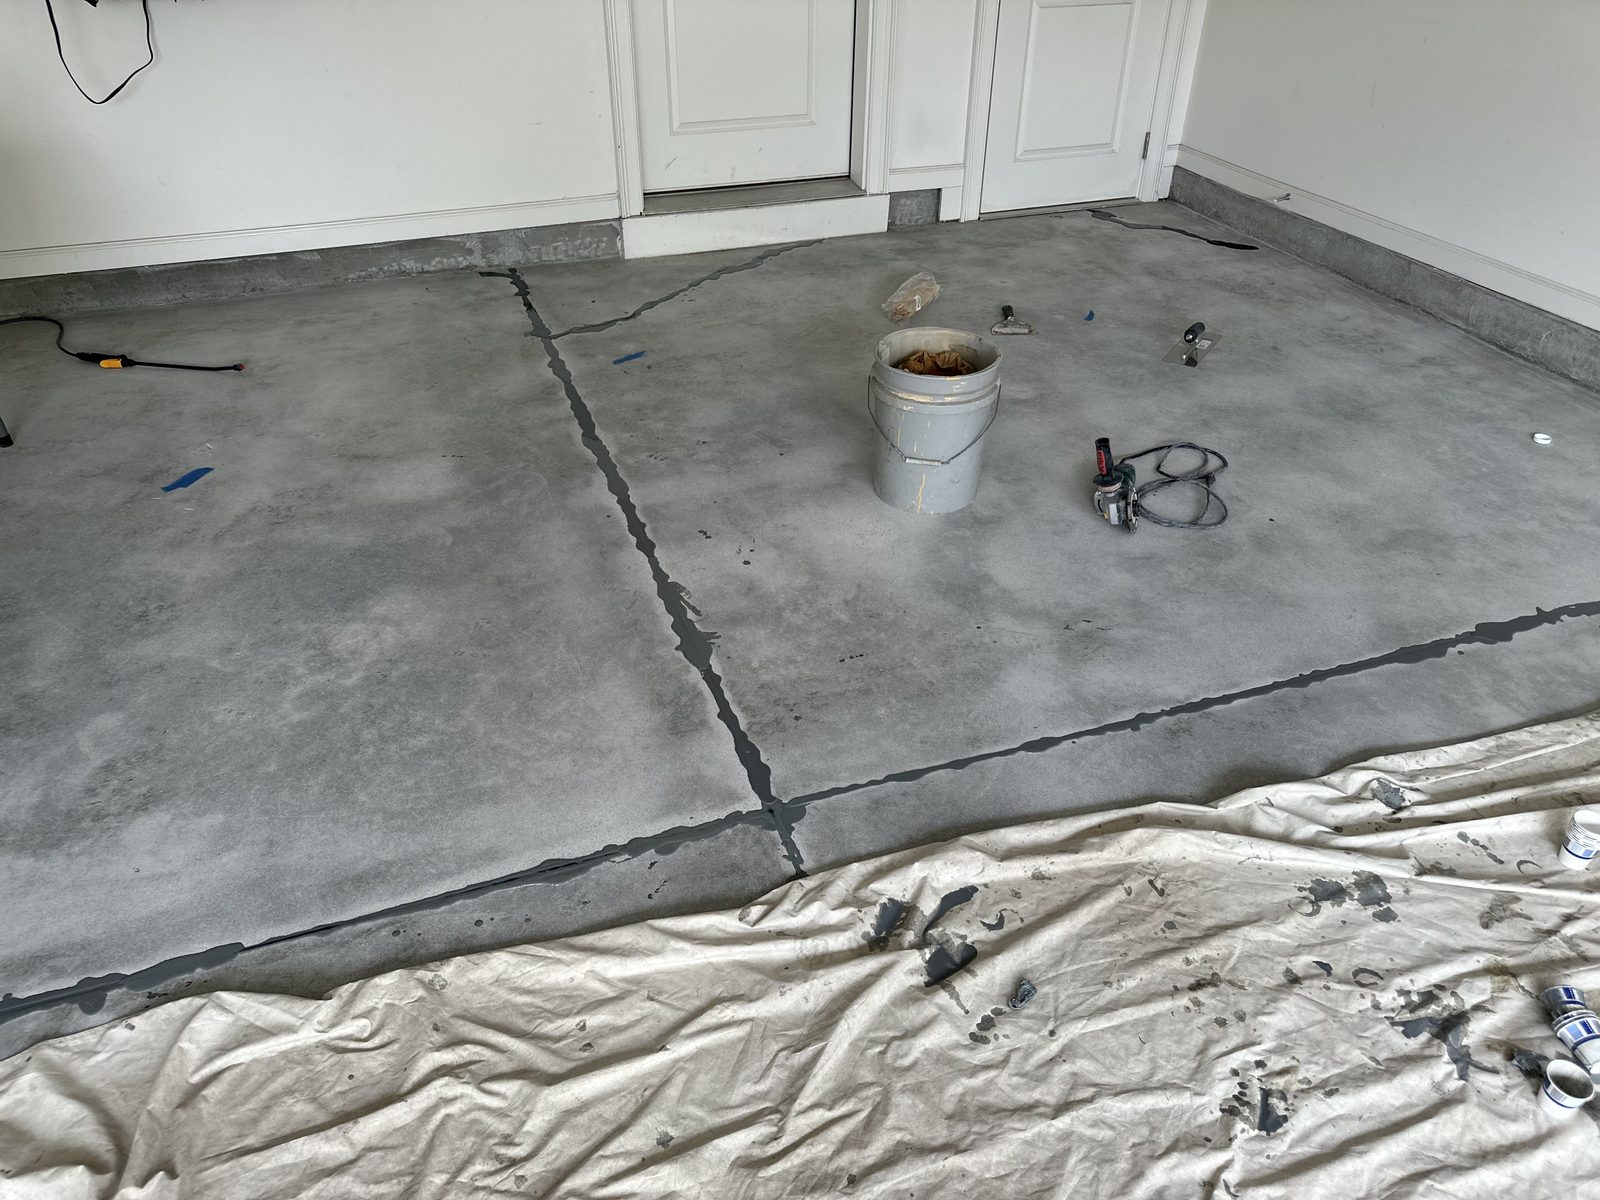
Repair cracks & stem walls
Cracks, control joints and crumbling stem walls get filled and rebuilt before any coating goes down. Skipping this is why coatings fail at the edges first.
 4
Base coat
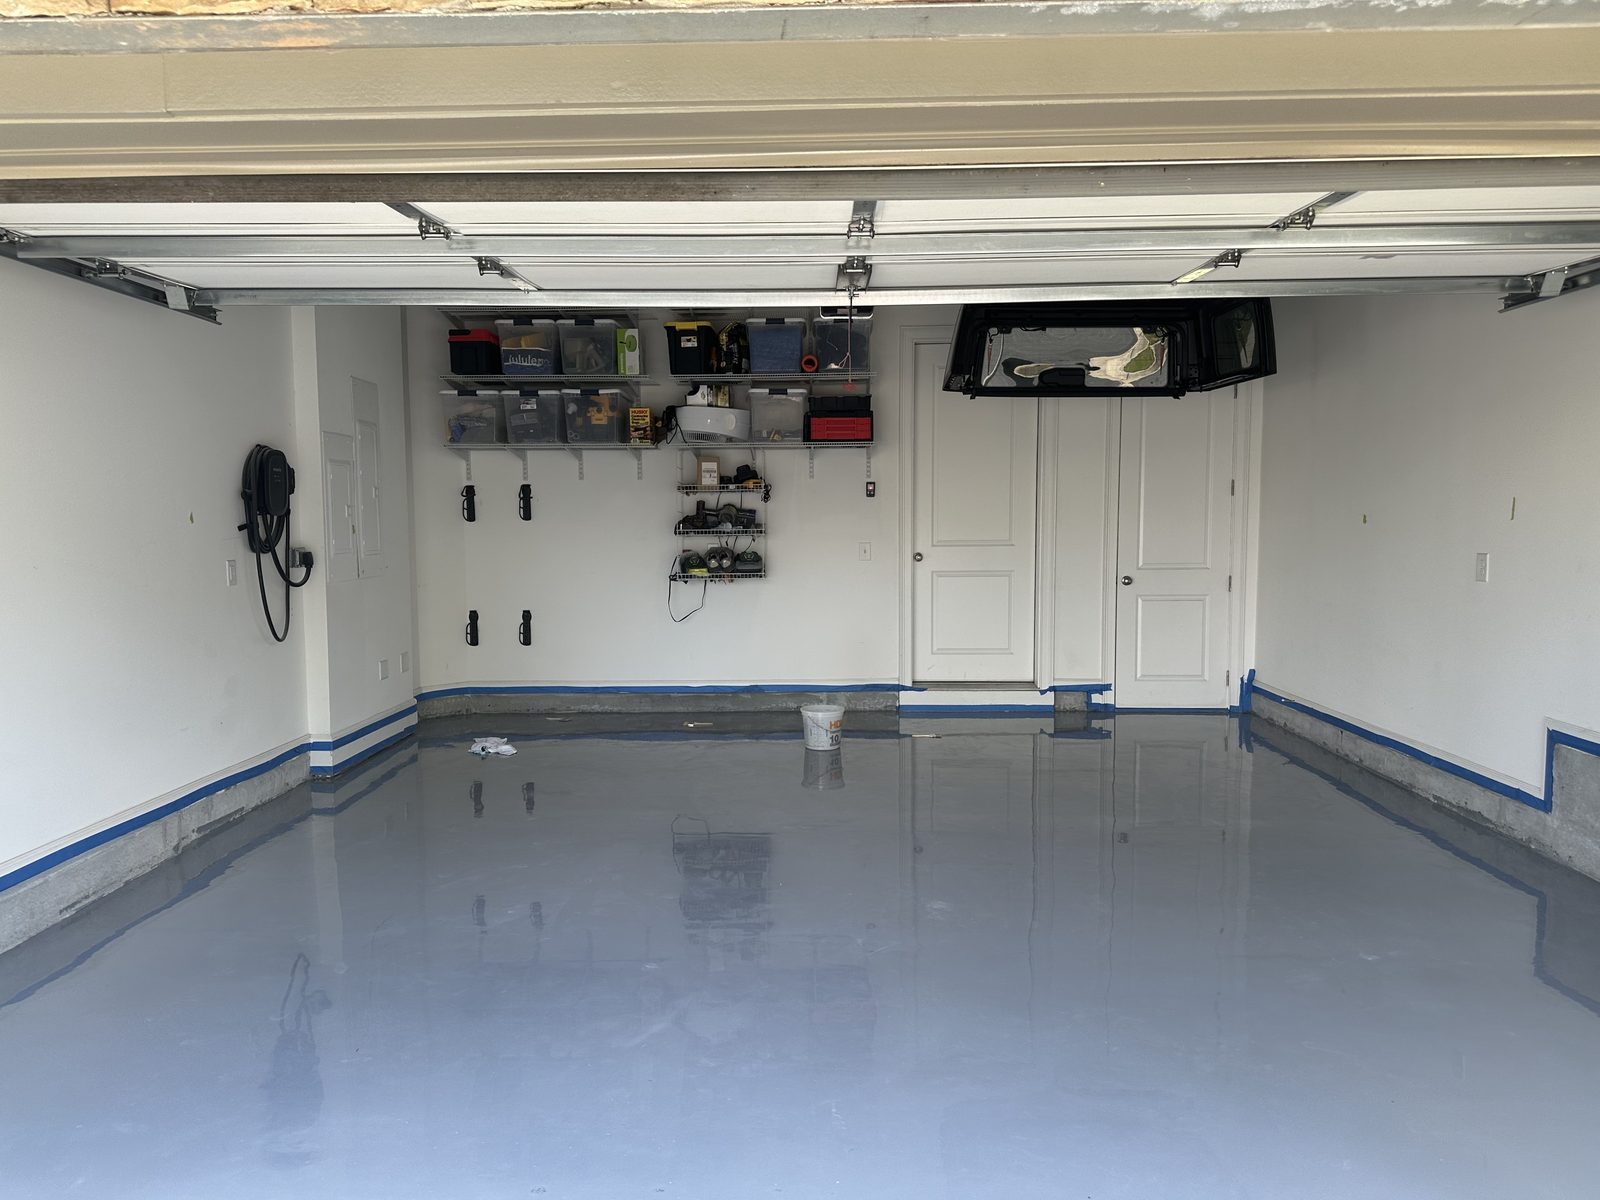
When the moisture readings call for it, a vapor barrier goes down first — that is what is being rolled here. Then the epoxy or polyurea base goes down wet and bonds into the ground concrete.
 5
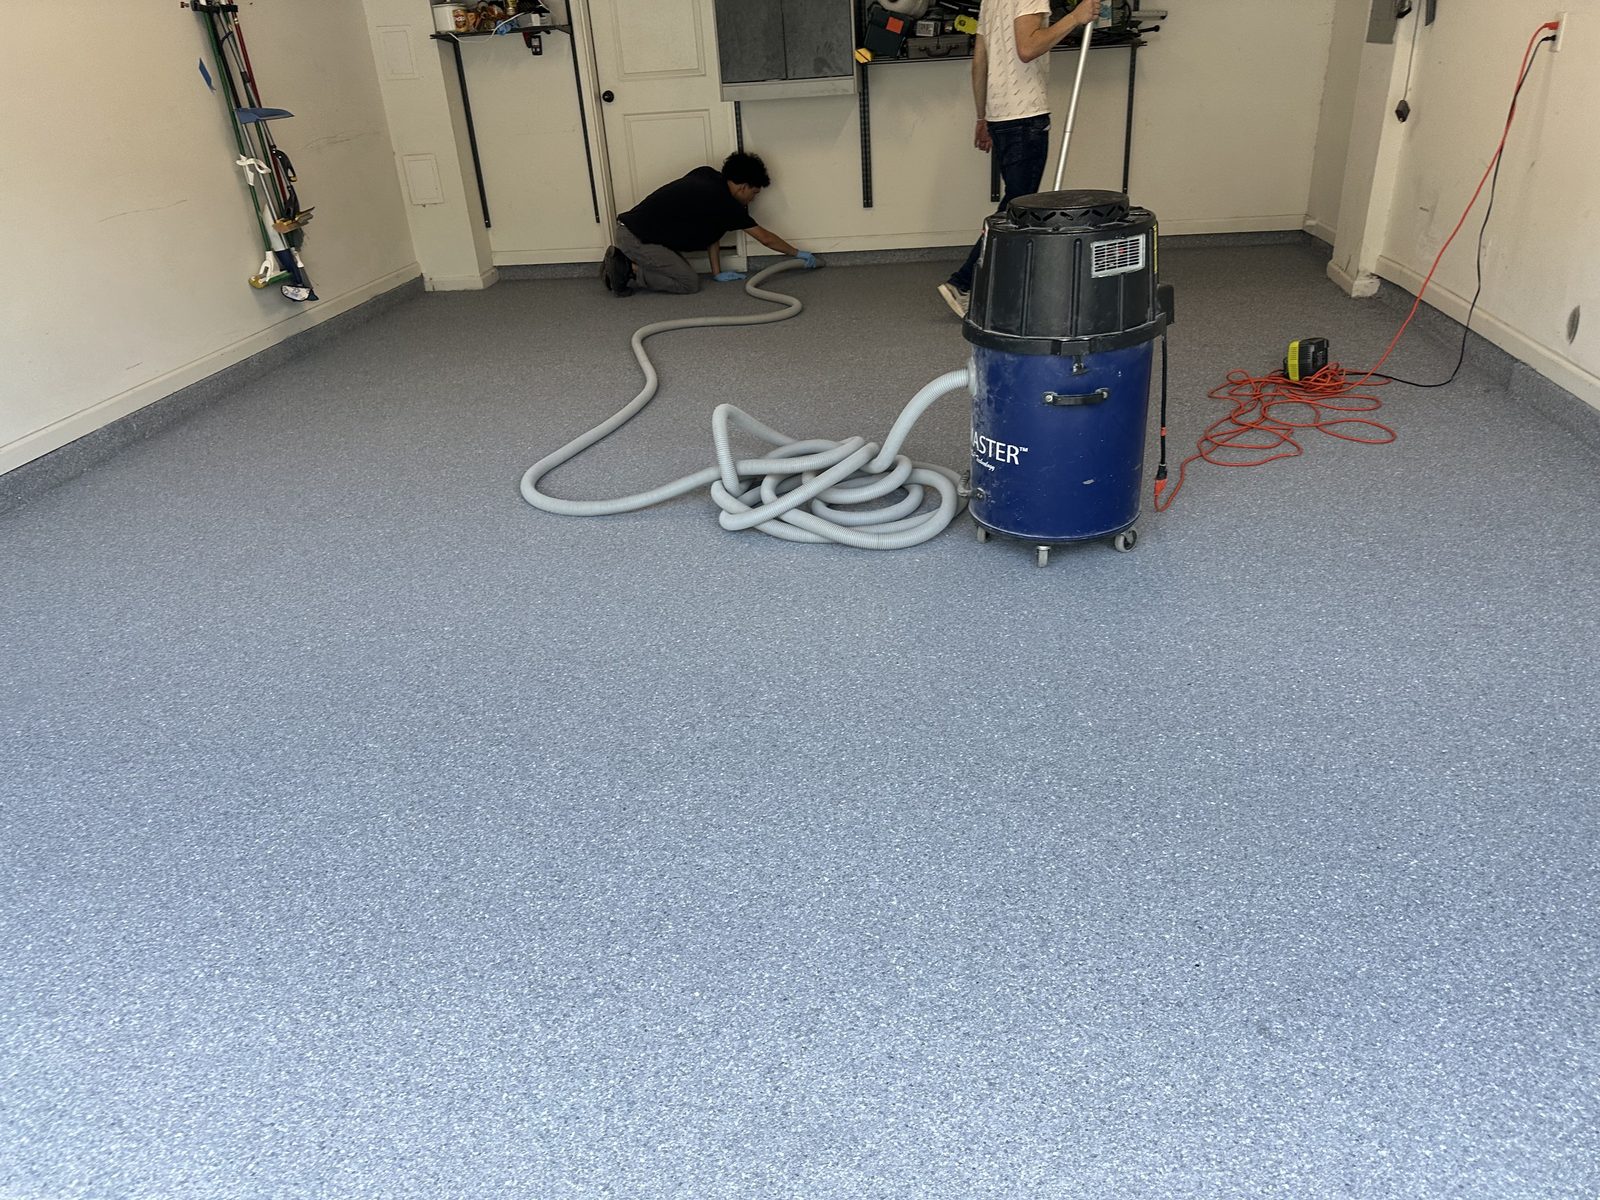
Full flake broadcast
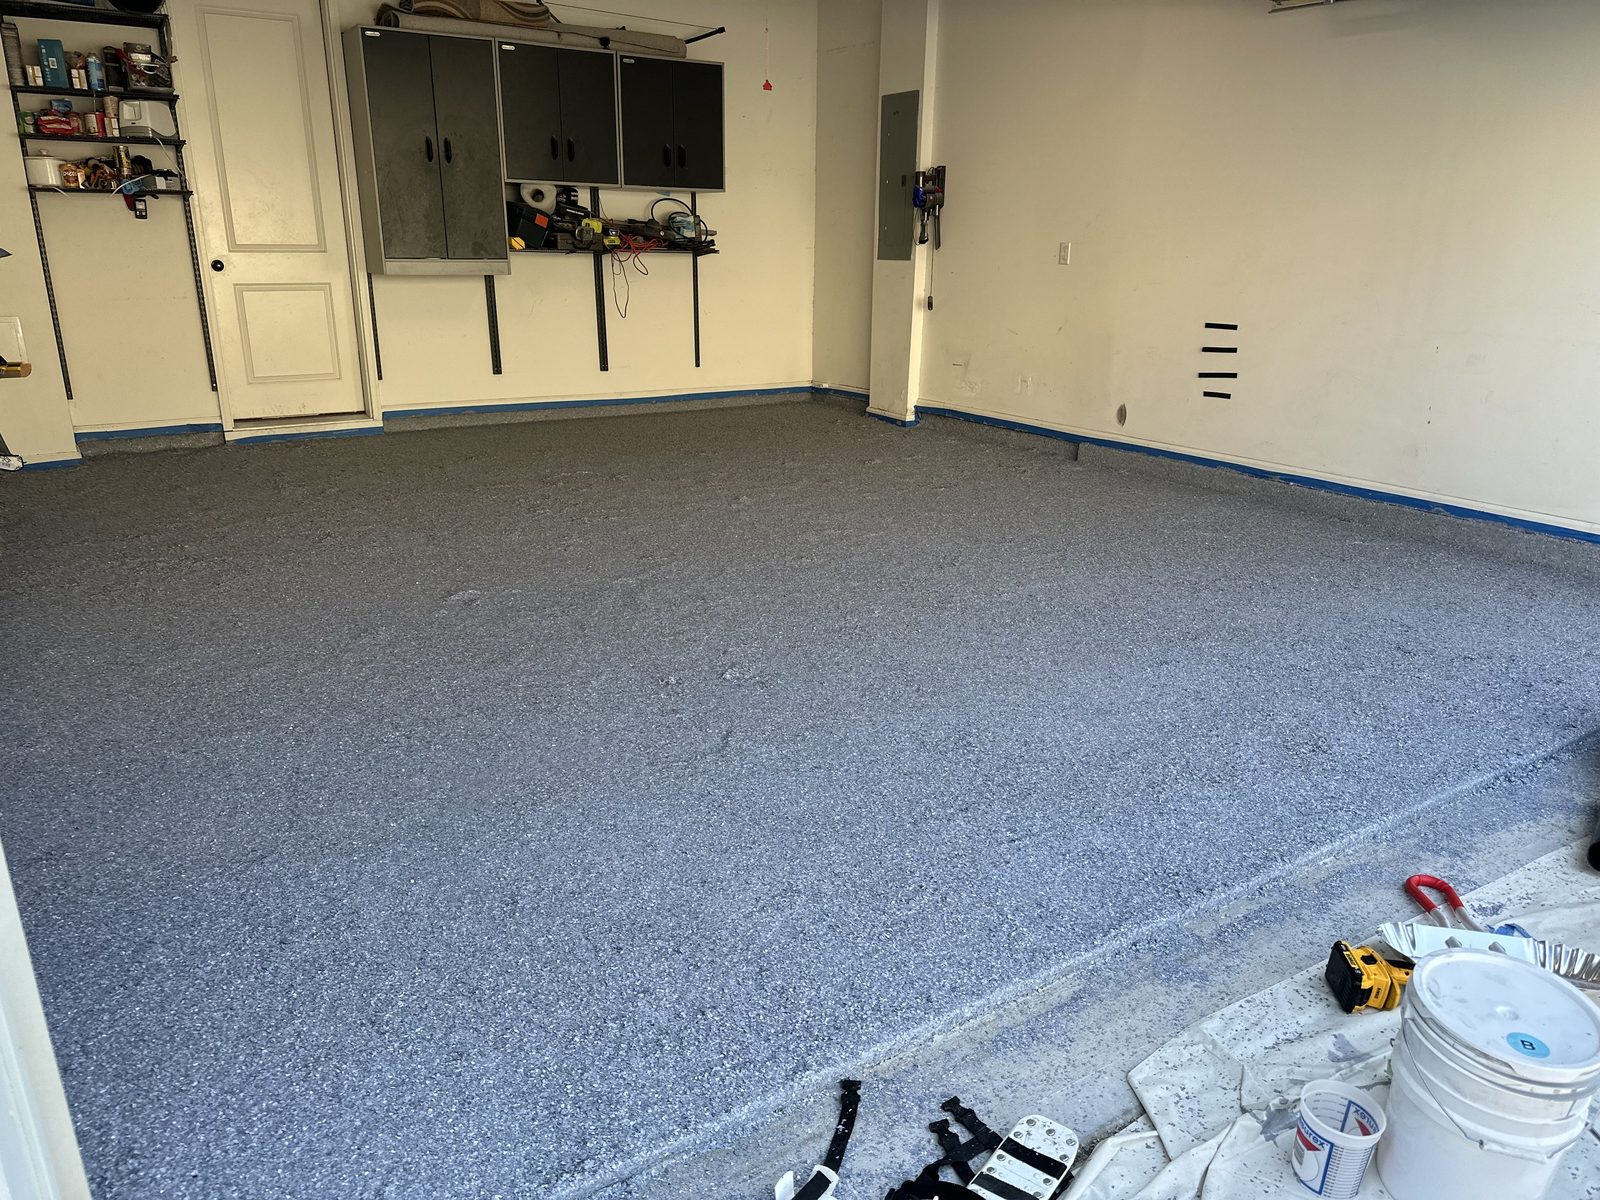
Flake is broadcast to refusal across the wet base, then scraped and vacuumed once it cures so the surface comes back flat and even underfoot.
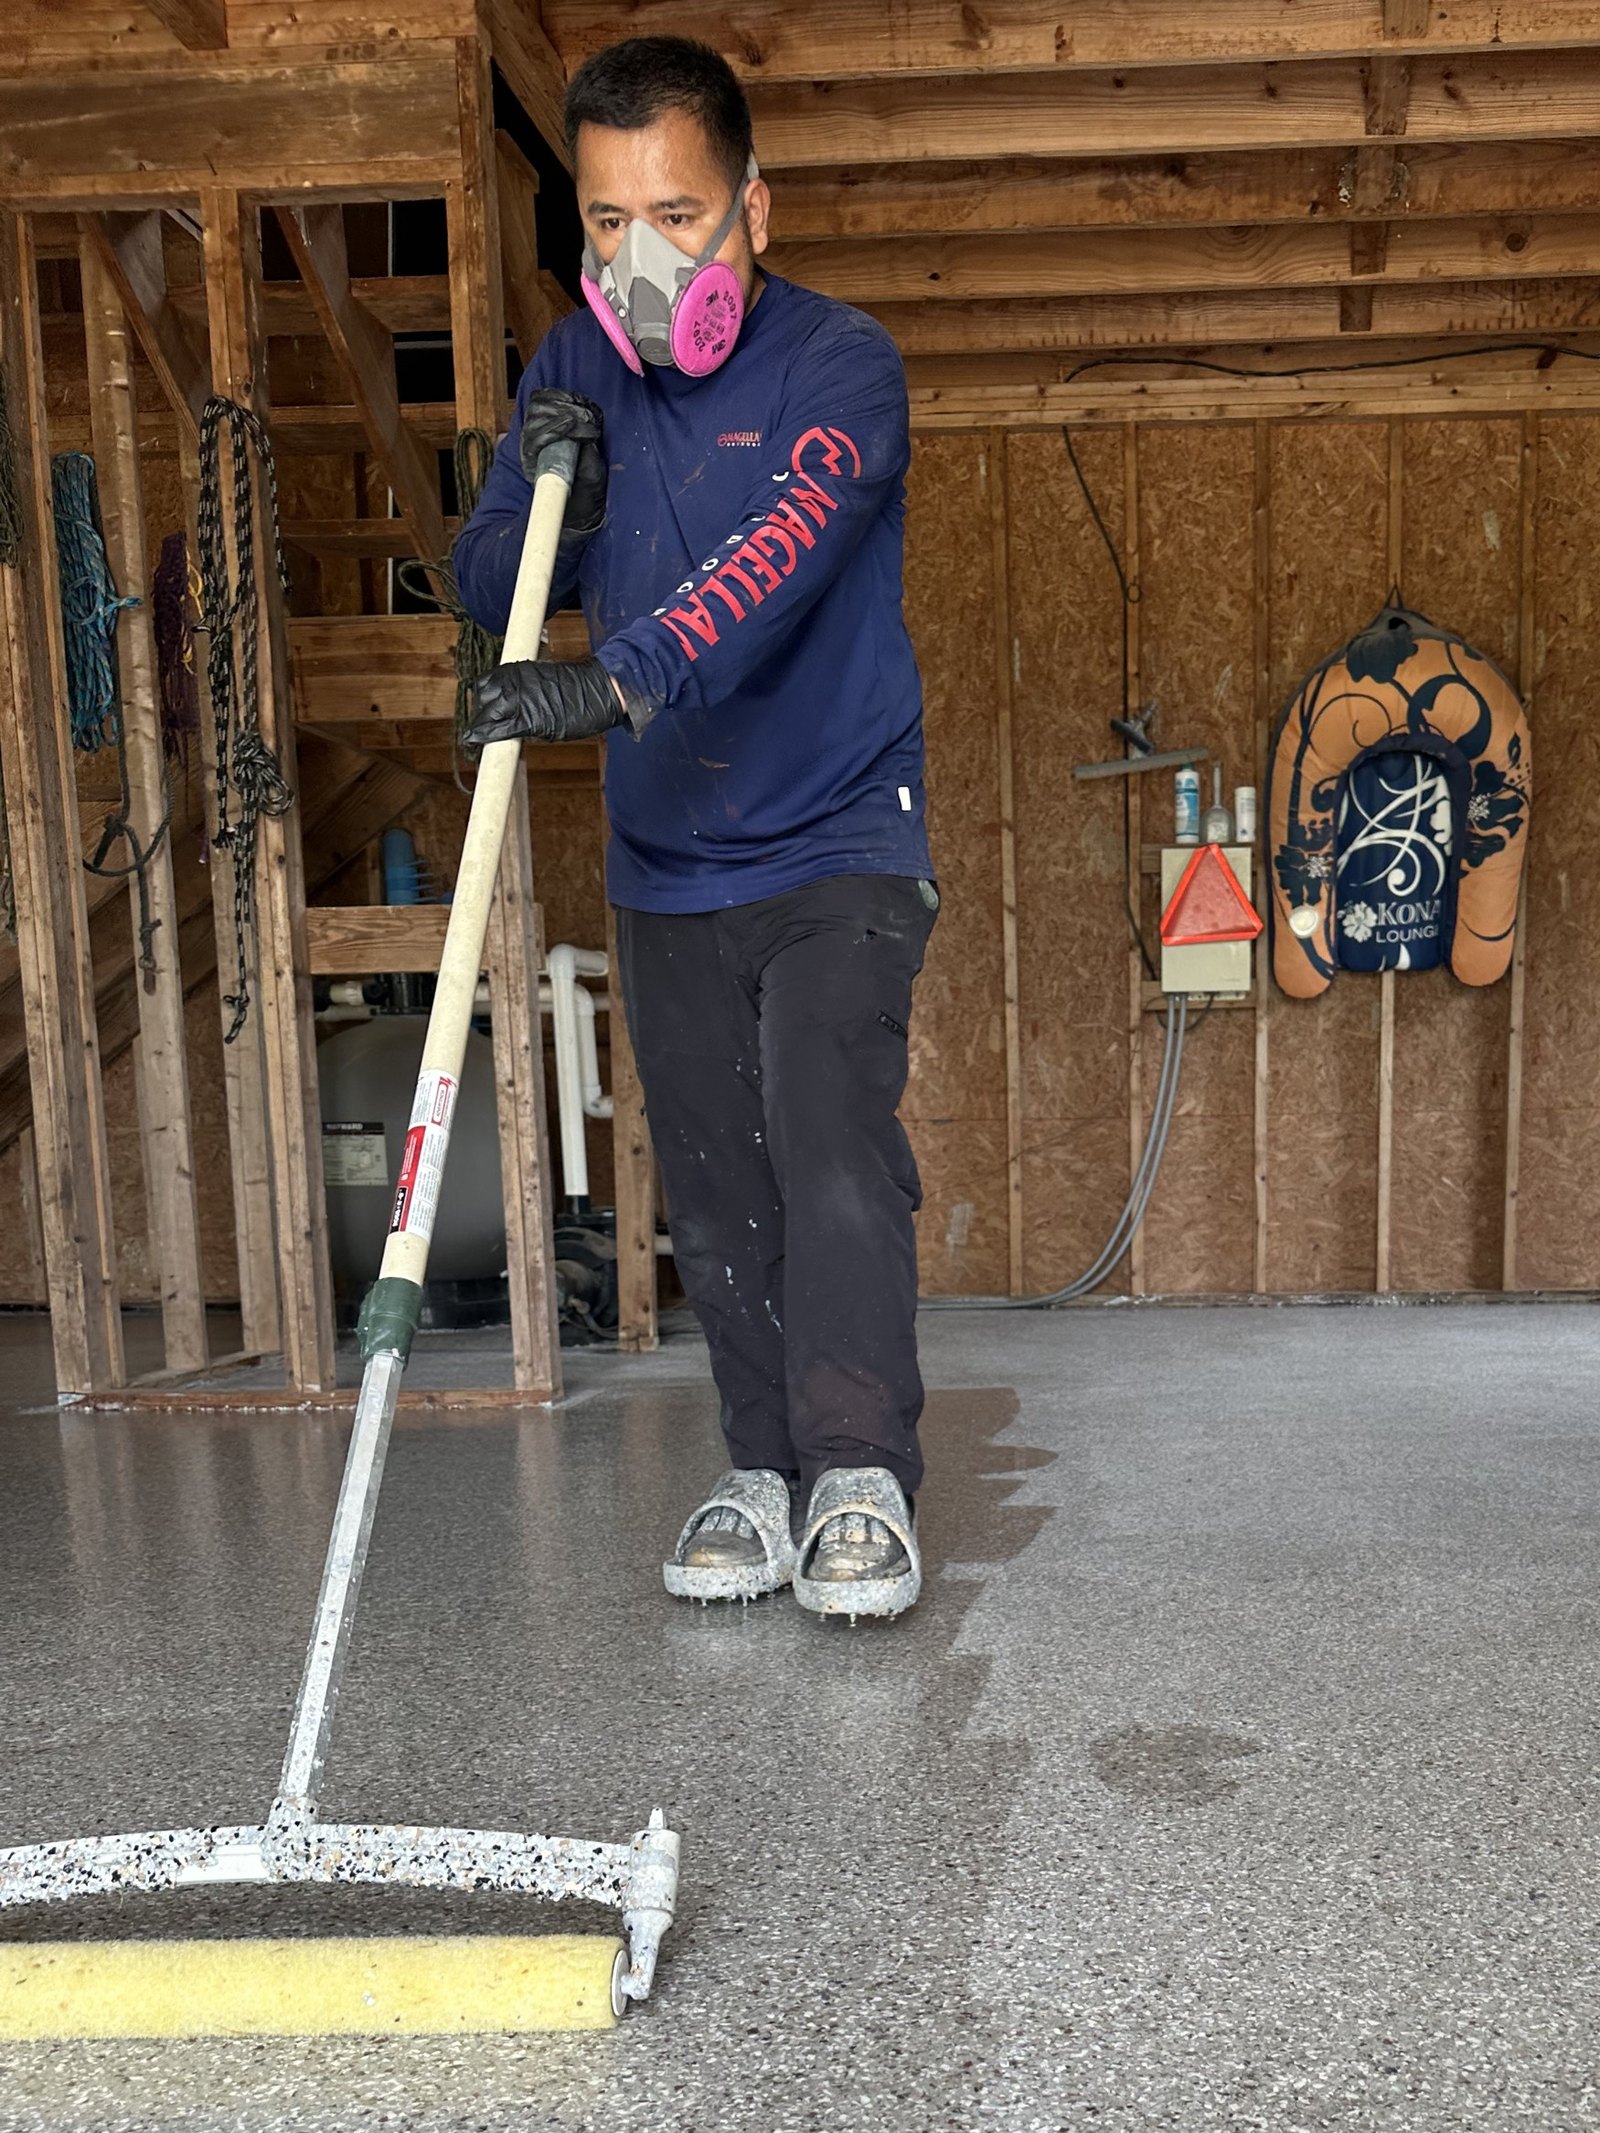 6
Polyaspartic topcoat & walkthrough
A clear polyaspartic topcoat locks in the flake and takes the UV, chemicals and traffic. Then we walk the finished floor with you before we leave.
Day of install
Most installs are one to two days.
Here is how a typical two-car garage runs. Larger barns, shops and commercial floors spread across more days. Timing varies with the size of the space, concrete condition and weather — we confirm the schedule on site.
- StartArrive, protect walls and mask off
- ThenDiamond grind the slab
- NextCracks, joints and stem walls
- After thatBase coat goes down
- ThenFull flake broadcast
- Late in the dayScrape and vacuum
- Before we leaveTopcoat and walkthrough
Before we arrive
What we need from you
01
Clear the floor
Everything off the slab — cars, shelving, fridges and storage. Tell us ahead if you need a hand with the heavy things.
02
Nothing to plug in
Our grinders and vacuums run off our own power. You do not need to supply an outlet or a water spigot.
03
Keep the space closed off
Pets and kids out of the area during the install and overnight while the topcoat cures.
We travel for larger jobs.
Same garage · same camera position
Start to finish
One Atlanta garage, photographed from the same spot at four points in the install.
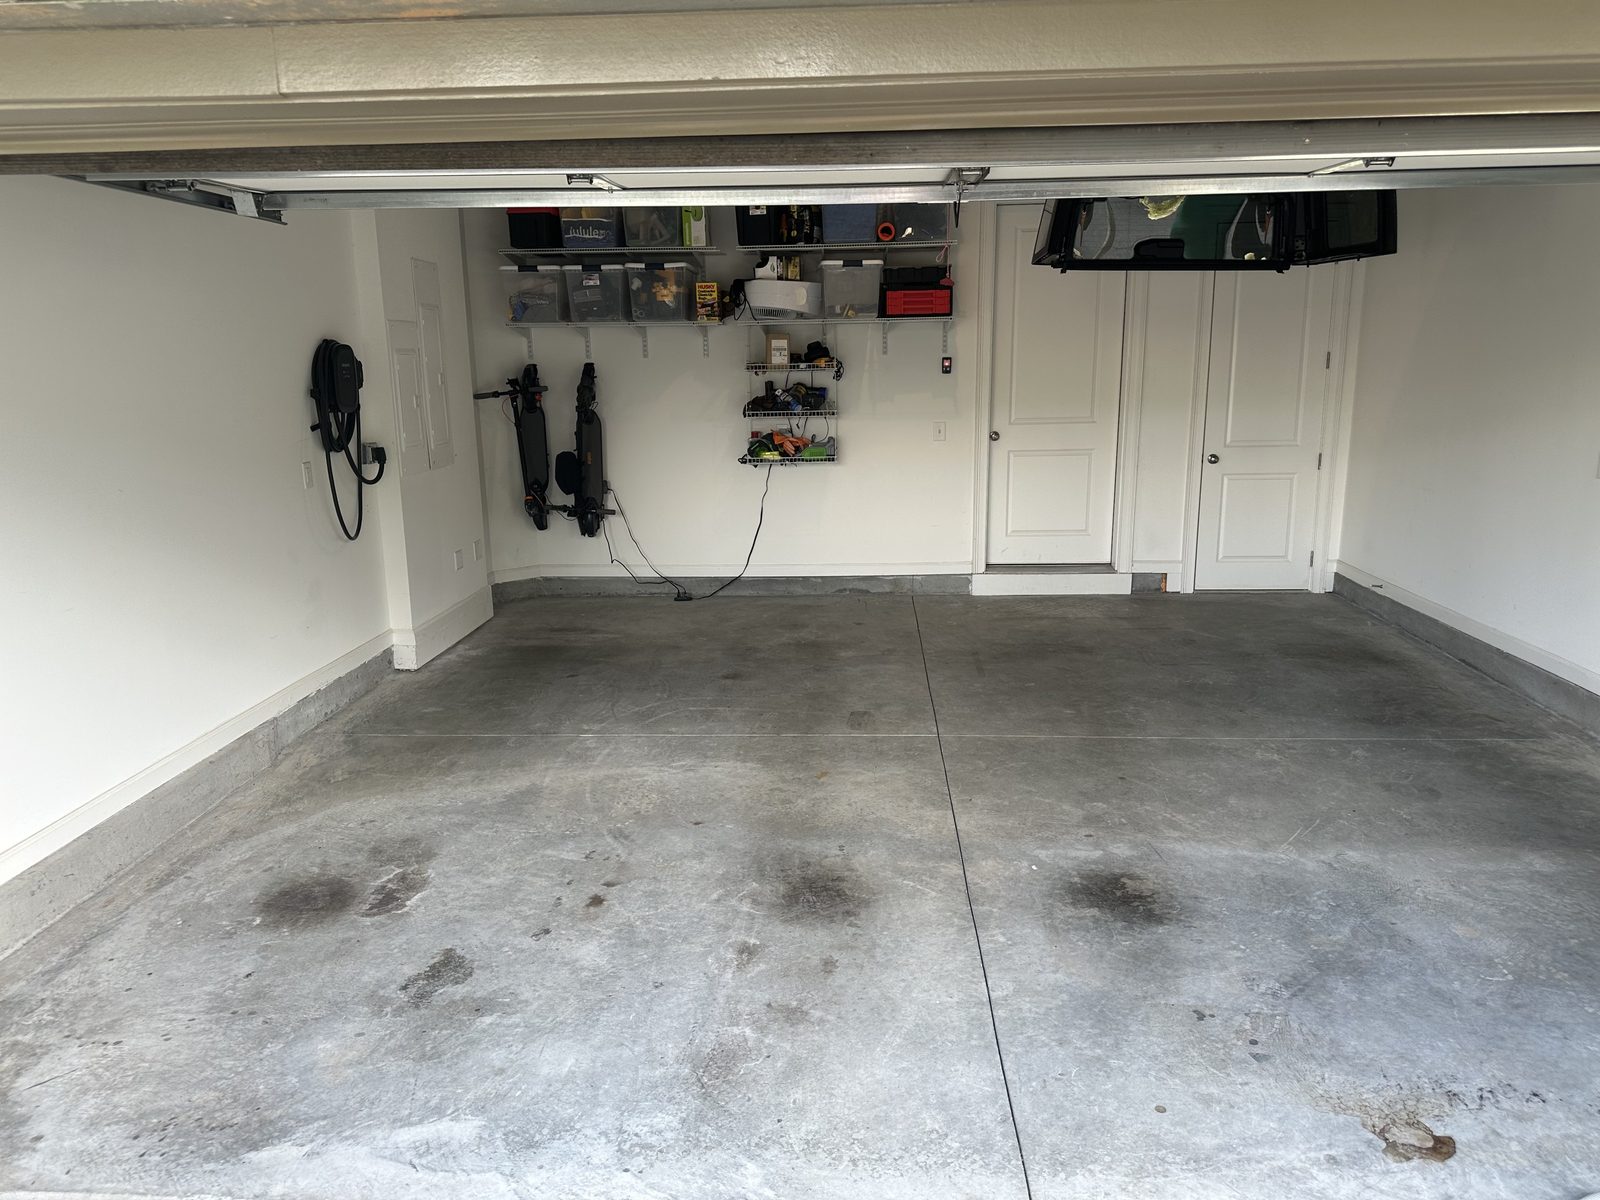
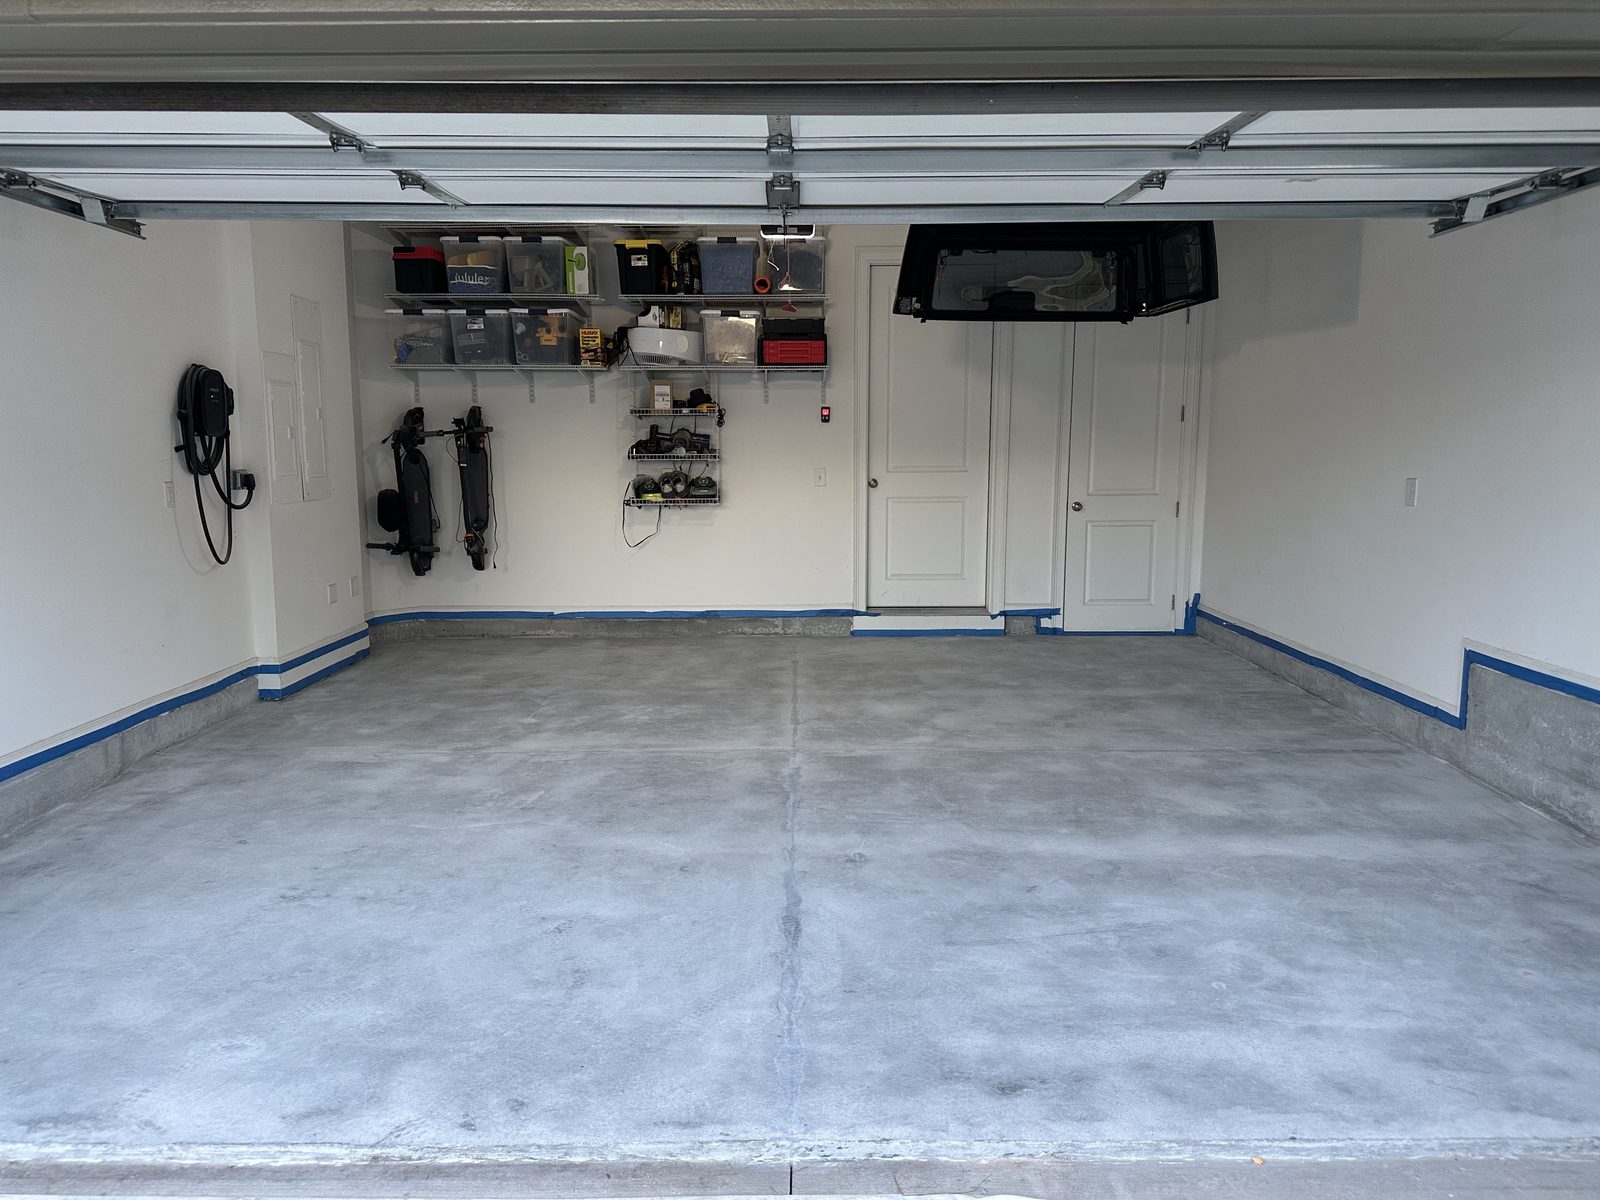
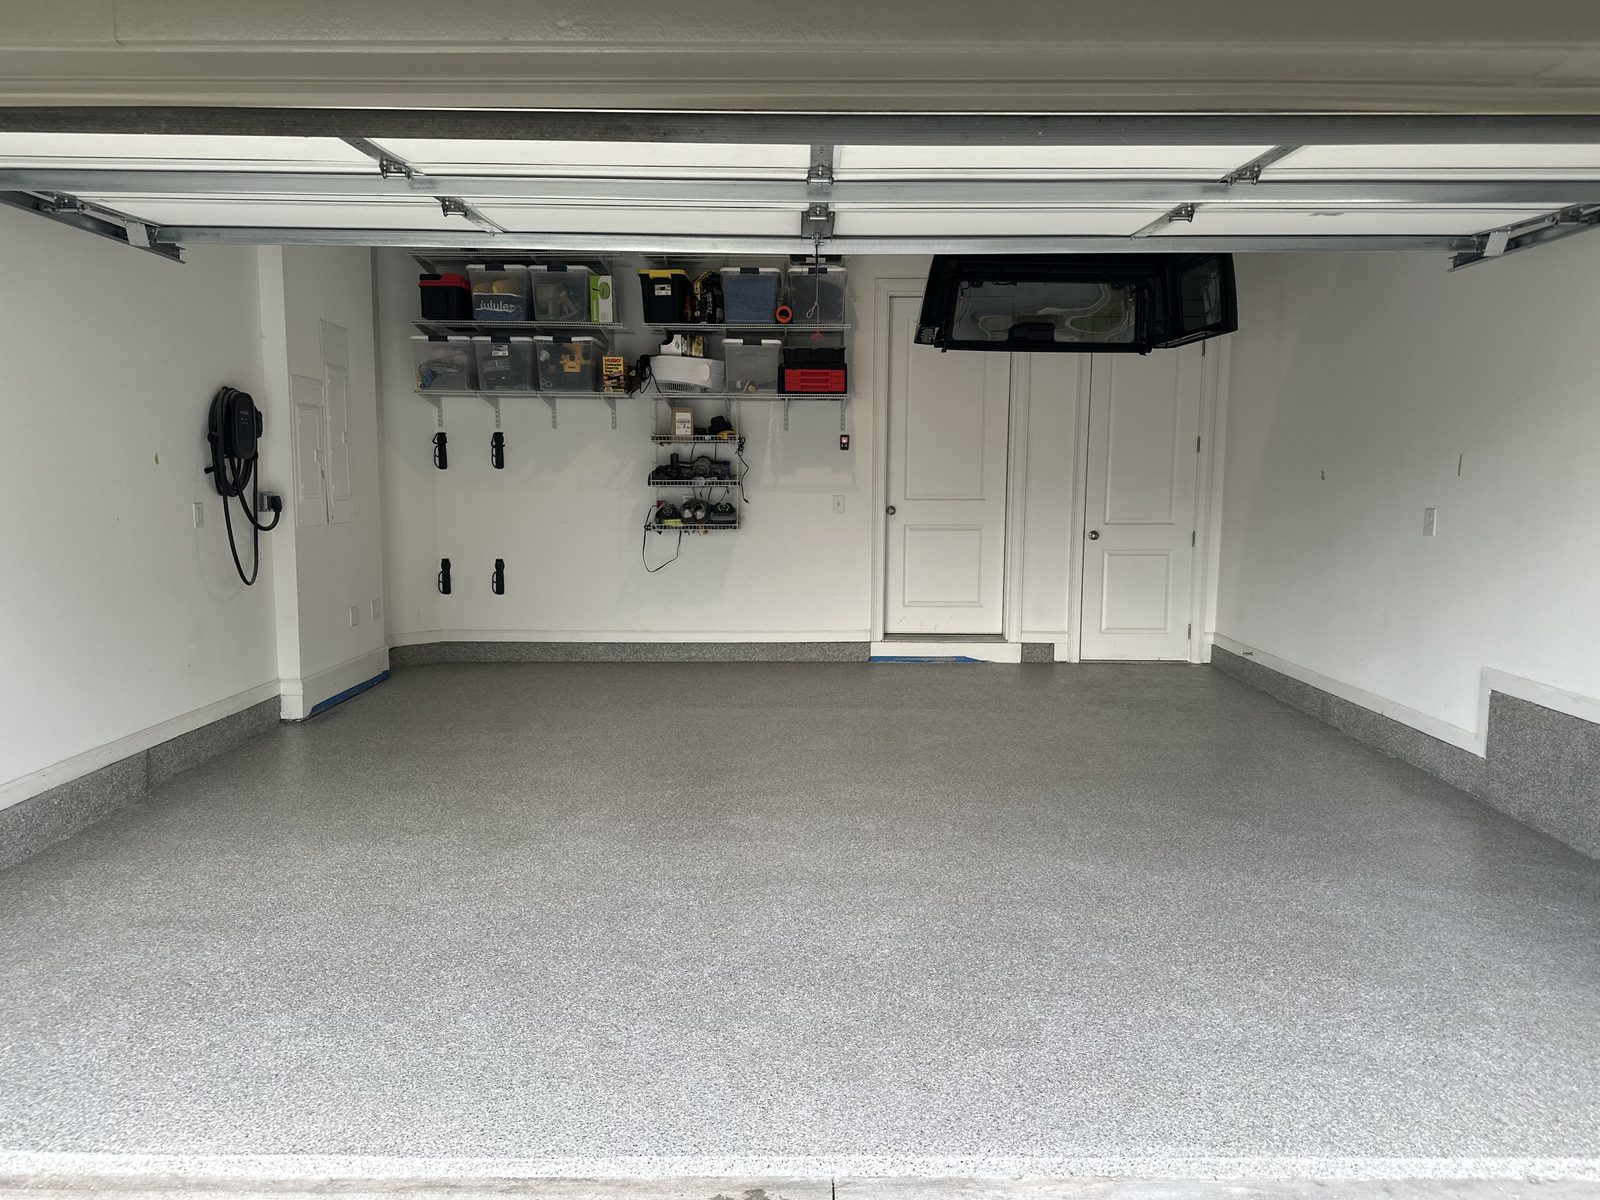
Roswell garage · same camera position through the install.
Next step
Book an in-home consultation
We measure the space, test the concrete and moisture, and leave you with a quote. Free; about 15–20 minutes for residential (commercial & industrial vary), no obligation.
Or call (678) 940-0125