Most floor coating failures are not coating failures. They are bond failures. The material did what it was supposed to do — it just never had anything to hold onto.
Concrete that has been power-troweled to a smooth finish is, from a coating’s point of view, closed. The surface is tight and slick. Put a base coat on it and the coating sits on top rather than keying into it. Sooner or later traffic, a hot tire or a dropped toolbox finds the weak spot and lifts an edge — and once an edge lifts, the rest follows.
That is why every one of our projects starts the same way. We grind.
What CSP means
CSP stands for Concrete Surface Profile. It is a plain way of describing how rough a prepared slab is — how much texture there is for a coating to grab onto. The scale runs from a barely textured surface, close to a polished slab, up through progressively coarser profiles produced by heavier mechanical methods.
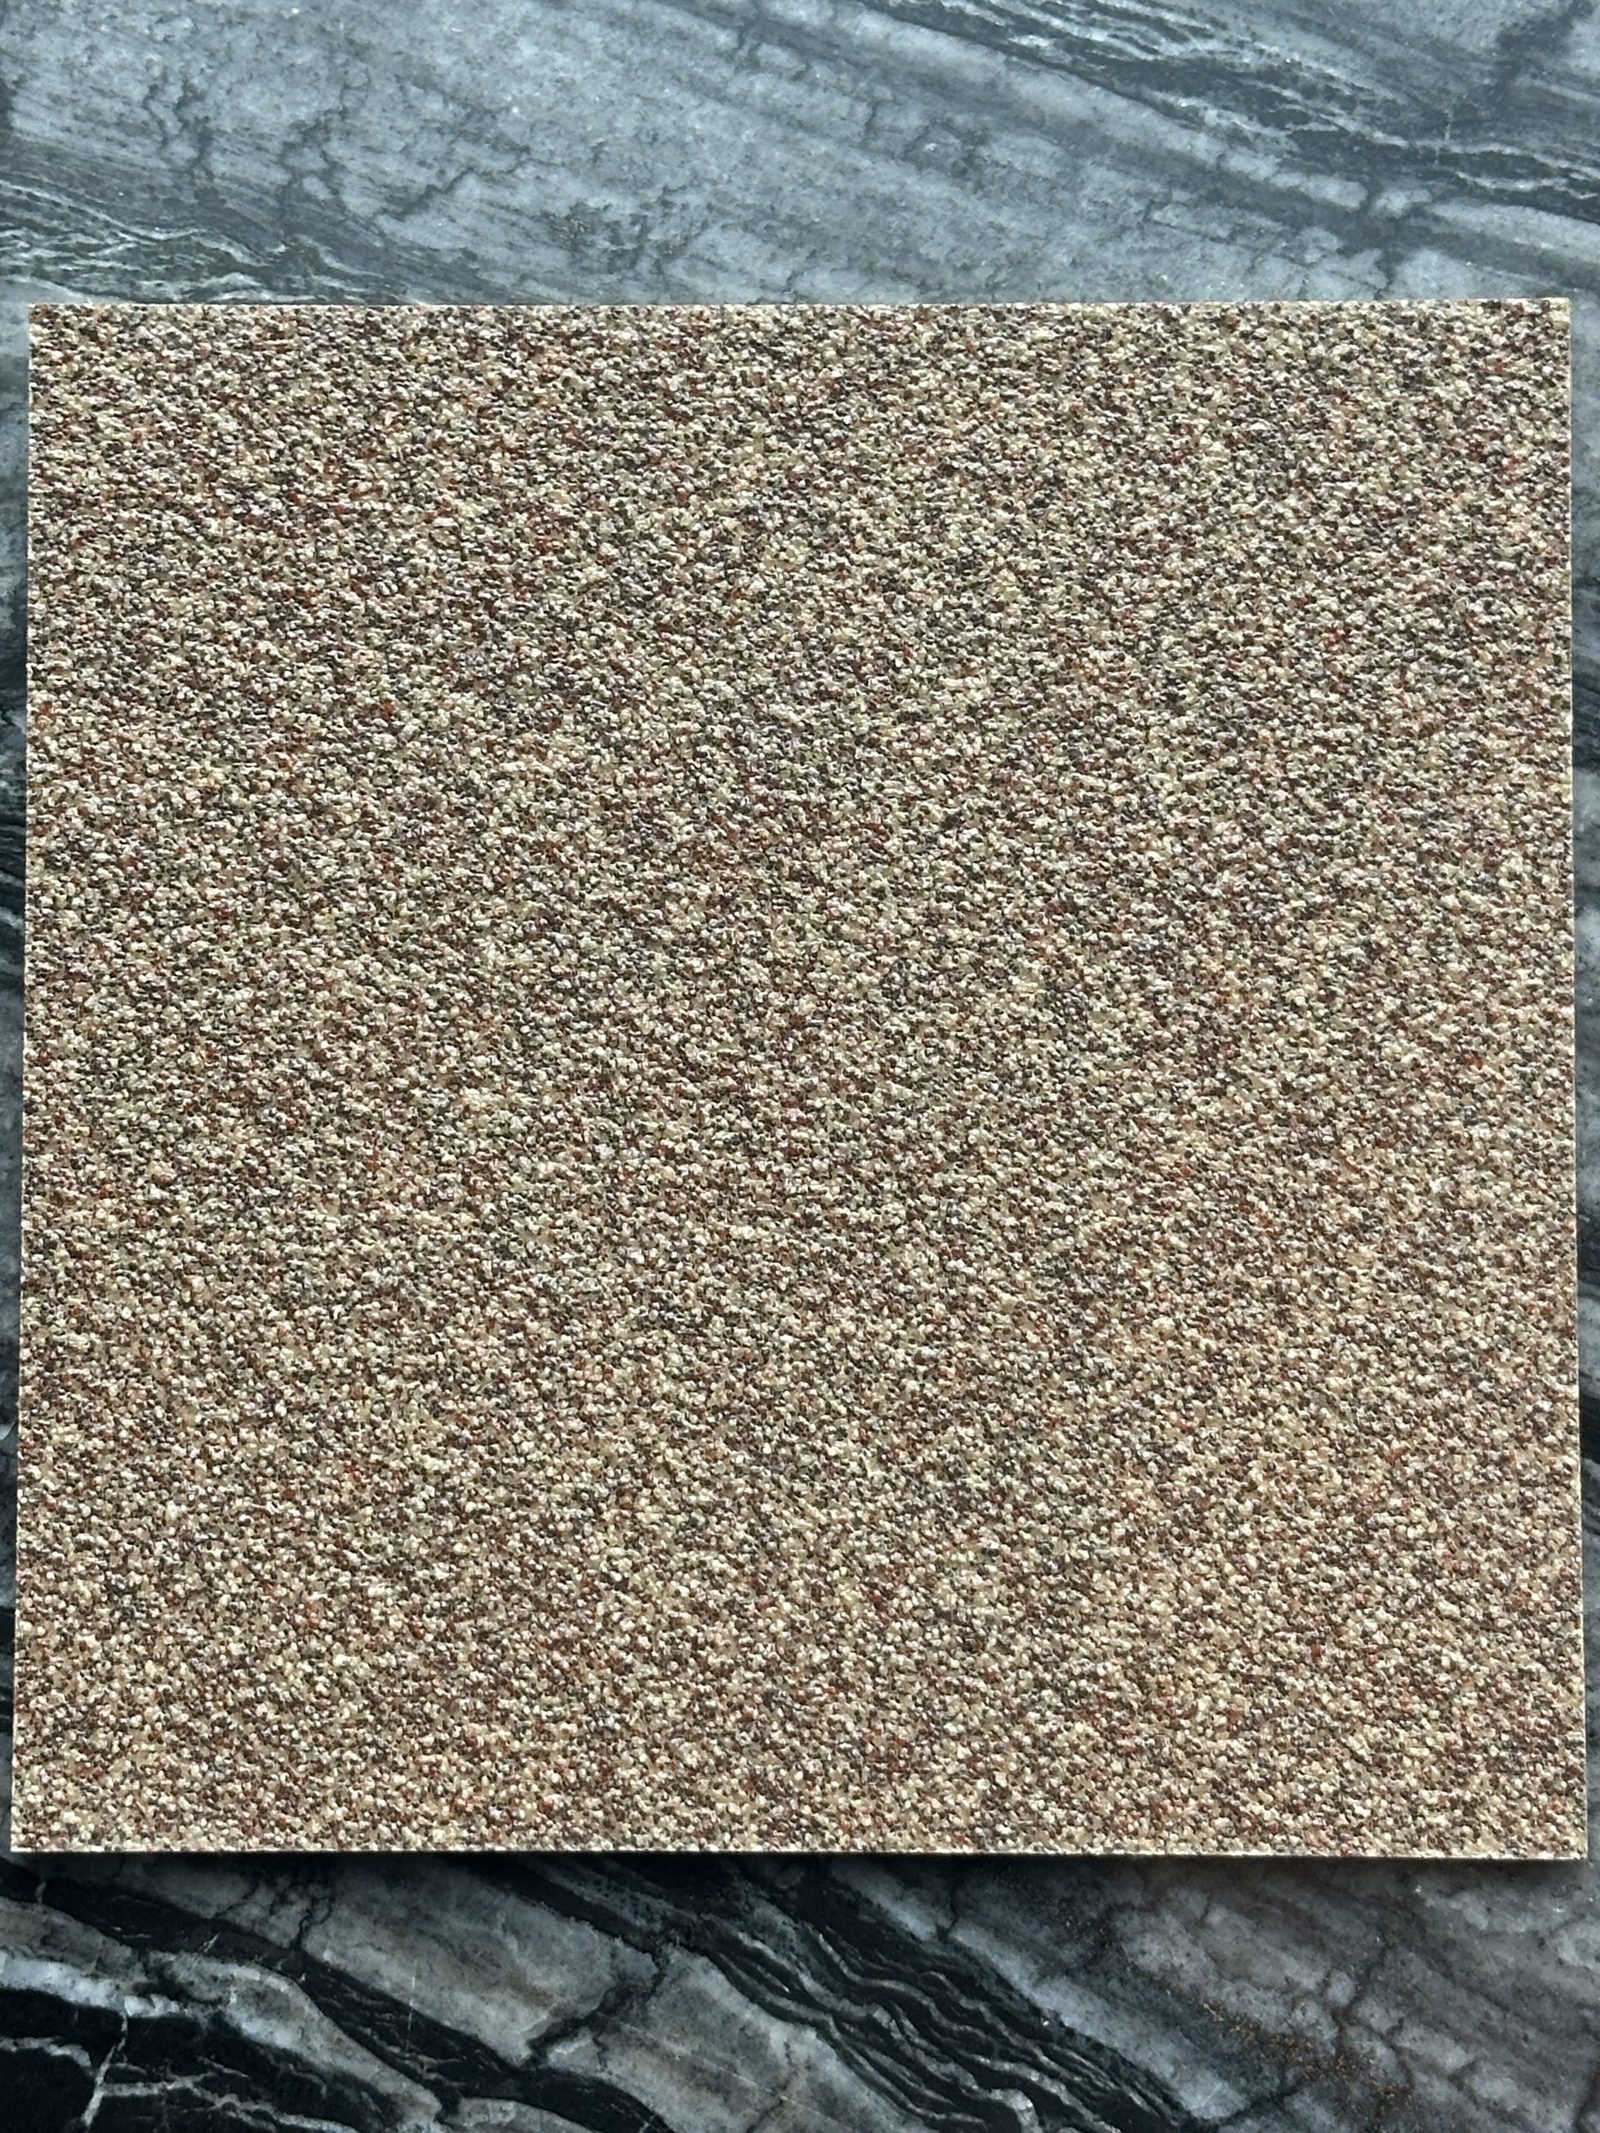
CSP 2–3 sits in the useful middle. It is not a polished floor and it is not a chewed-up one. Run your hand across it and it feels like fine sandpaper: open, matte, slightly gritty. That texture is full of anchor points for the base coat to key into, and it is what we grind to on every job. A two-car garage and a shop floor get the same standard.
A coating does not bond to concrete. It bonds to the profile we put into the concrete.
Why we grind rather than etch
You can etch a slab with acid, and plenty of DIY kits ship with a jug of it. Etching does change the surface, but it is a chemical reaction and it is uneven: it bites harder where the concrete is soft and barely touches where it is dense. It also leaves residue that has to be rinsed and neutralized, and then the slab has to dry again before anything can go down.
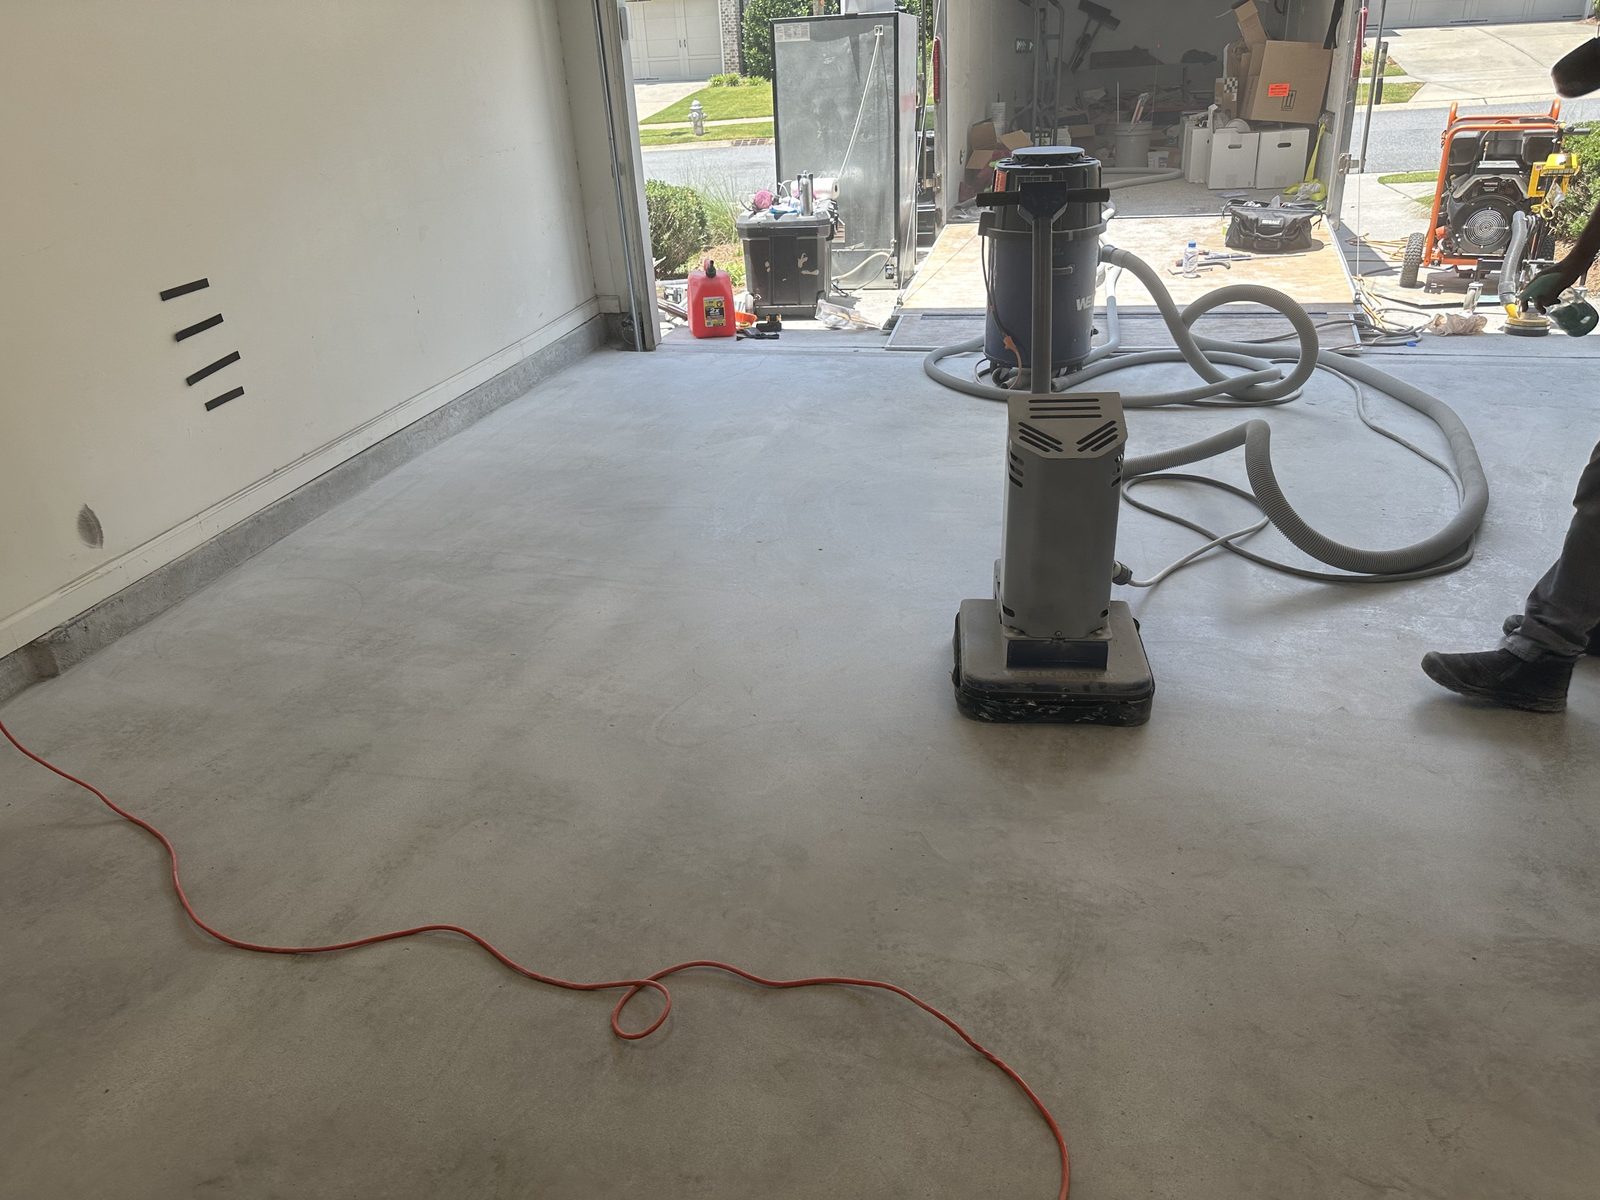
Diamond grinding is mechanical, and it is consistent. Weighted diamond tooling cuts the surface evenly, takes off the closed top layer along with old sealer, paint and glue, and leaves a profile we can both see and feel. We run the grinder with a vacuum attached, so the dust goes into a hose instead of onto your walls and shelves.
Grinding also tells us about the slab. As the tooling passes, the concrete gives up its cracks, control joints, soft spots and old repairs. We would much rather find those during prep than discover them underneath a finished floor.
How we know when to stop
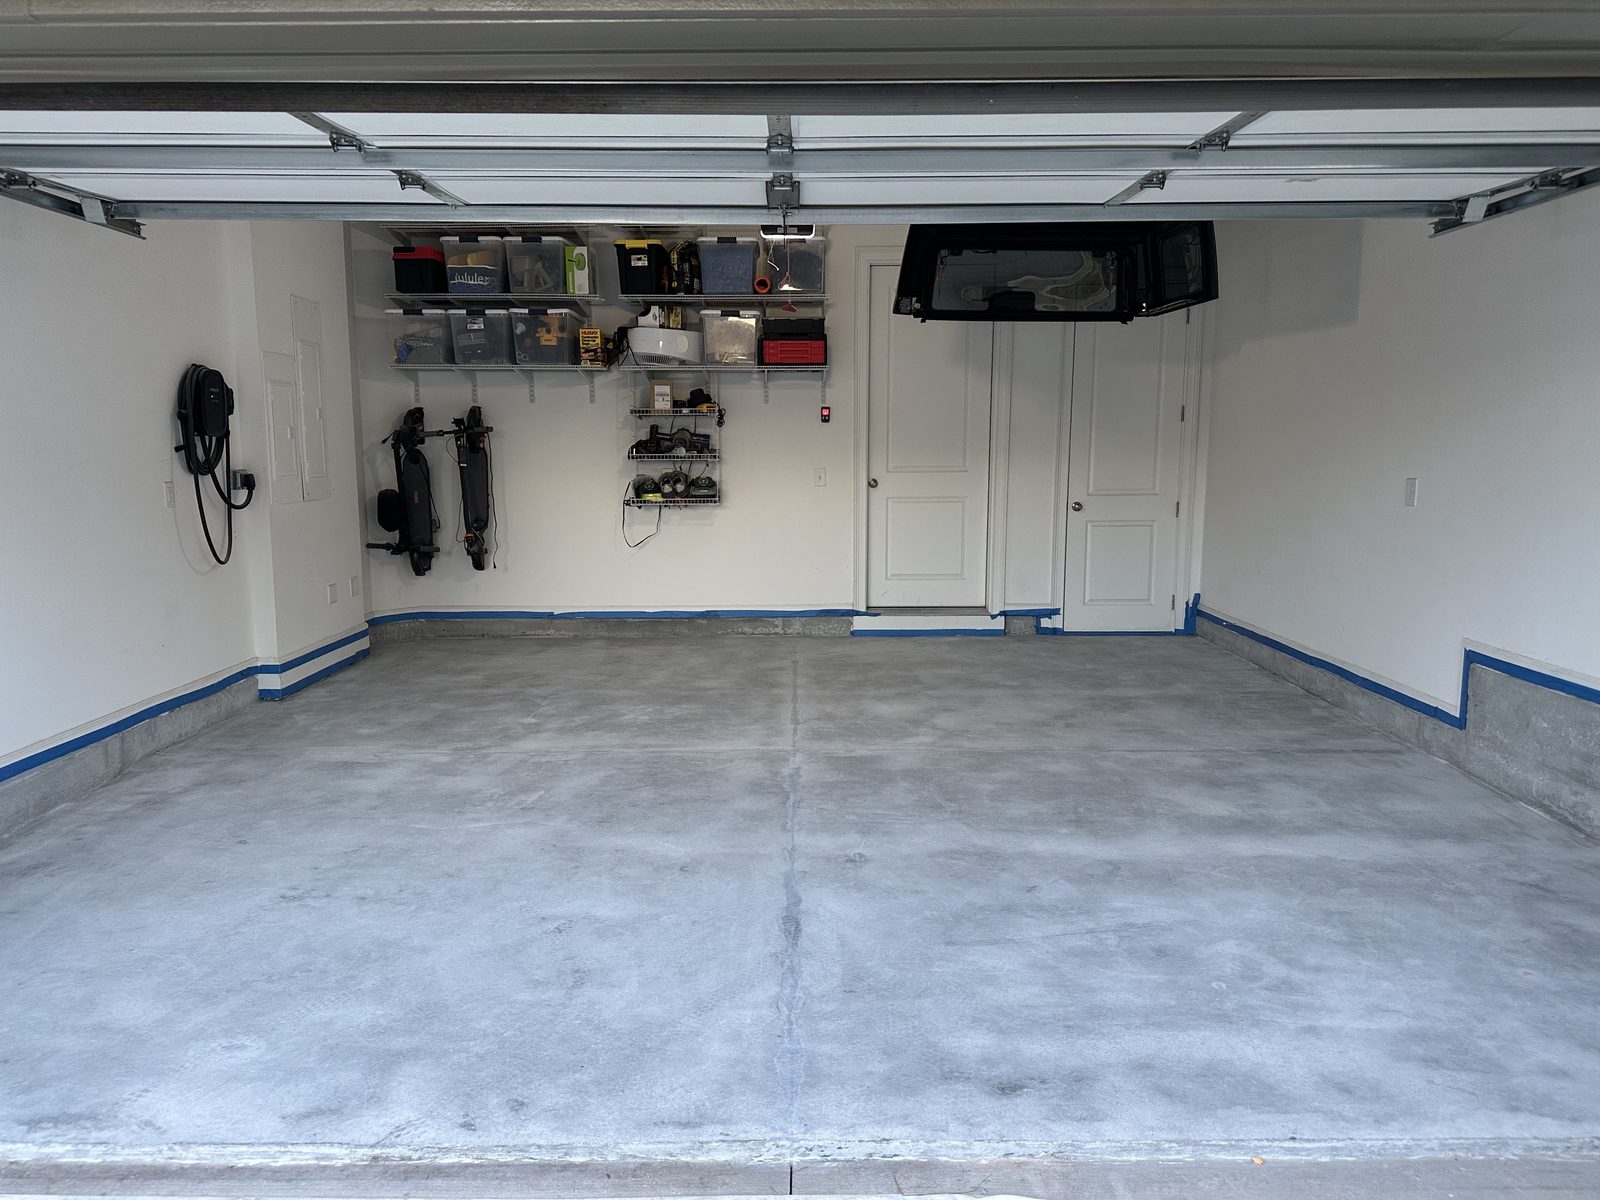
There is no clock on grinding. We stop when the whole floor reads the same — an even color where the closed surface has been cut away, no shiny islands left where the tooling skated over a harder patch, and the same gritty feel from the door line to the back wall. If an area still looks polished, it gets another pass. A bond is only as good as the worst square foot on the floor.
The edges matter as much as the middle
Coatings usually start to fail at the edges, so the parts people forget get exactly the same preparation as the open floor:
- Perimeters and corners, cut in with an edging tool where the walk-behind grinder cannot reach
- Stem walls, steps and curbs — they get coated too, so they get profiled too
- The threshold and the door line, where tires and weather work hardest
- Cracks and control joints, opened up and filled after grinding rather than before
Prep is most of the job
There is a version of this work where somebody turns up, rolls something over the slab and leaves. It looks fine for about a week. We would rather spend the time at the front end: grind, vacuum, repair, grind again where a repair needed it, then vacuum again before a drop of base coat goes down. Most installs take one to two days, and a good share of that is preparation.
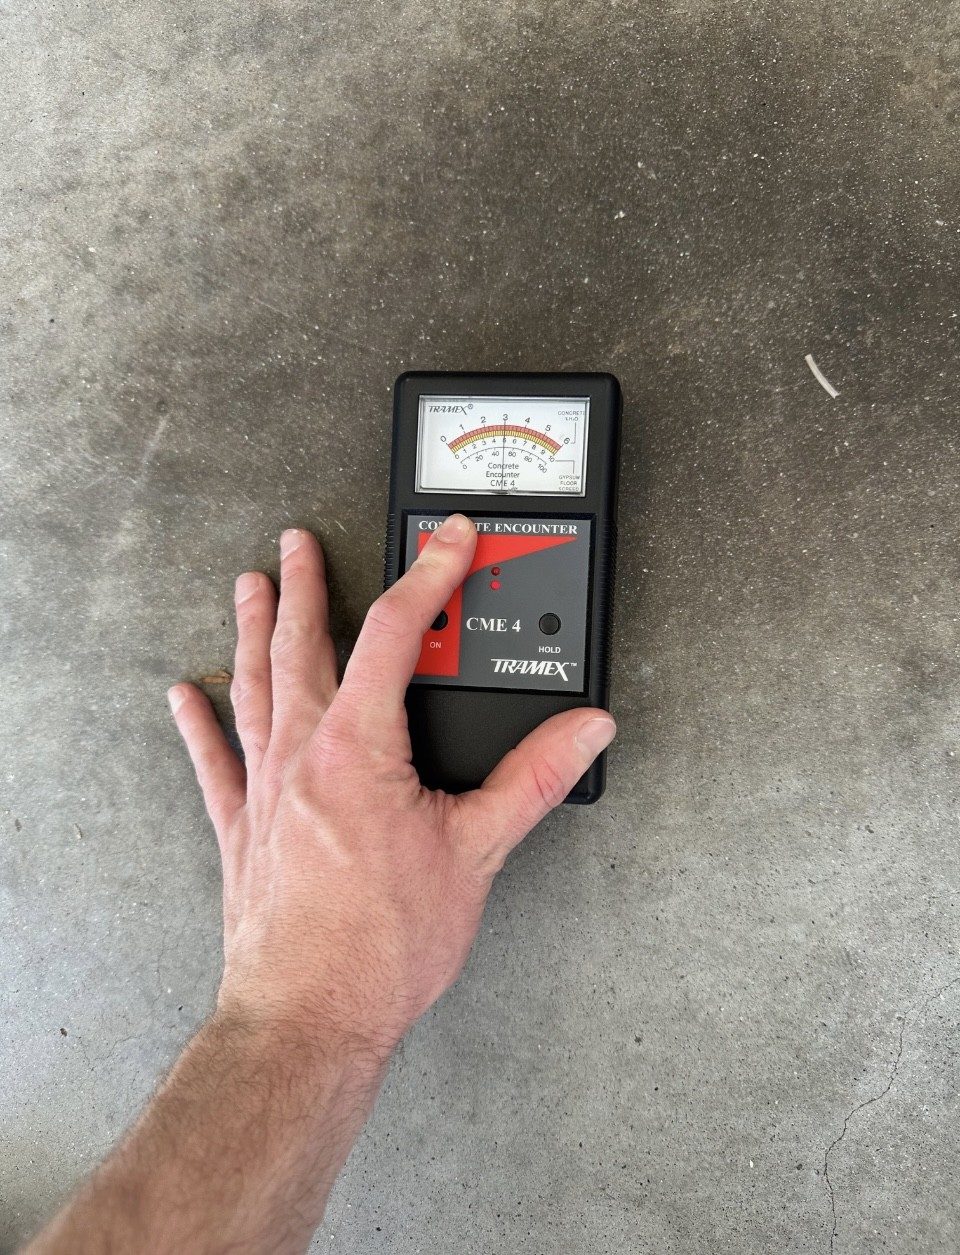
What goes on top of a properly profiled slab is the system we use everywhere — an epoxy or polyurea base, a full flake broadcast and a polyaspartic topcoat, all high solids. Where the moisture readings call for it, a vapor barrier goes under the base coat. None of that matters if the first step was skipped.
Walk on it in 4 hours, drive on it in 24. That schedule only works because the bond underneath it is real.